
To lower your pool’s total alkalinity safely, use the acid‑aerate method by gradually adding diluted acid near the return jet or skimmer while your circulation system runs. Monitor pH and alkalinity levels regularly, and gently aerate your pool to release dissolved CO₂, which helps reduce alkalinity naturally. Always handle acids carefully with proper safety gear. Continuing with this approach guarantees you maintain a balanced, healthy pool—learn more about each step to do it confidently.
Key Takeaways
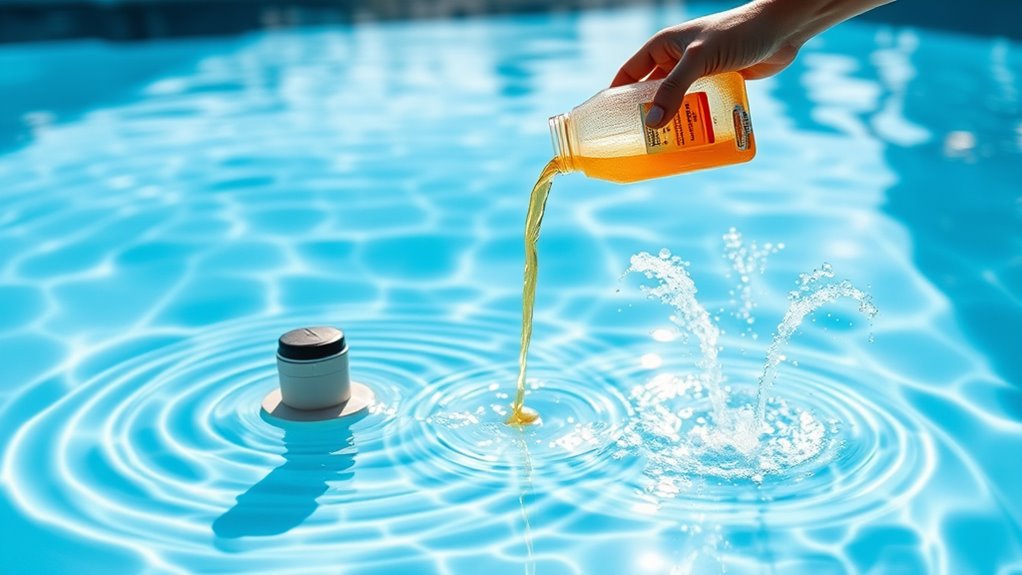
- Gradually add diluted acid near the skimmer or return jet to control alkalinity reduction.
- Always wear gloves and goggles when handling acid to ensure safety.
- Use aeration techniques, like running the pool’s blower or fountain, to help lower pH naturally.
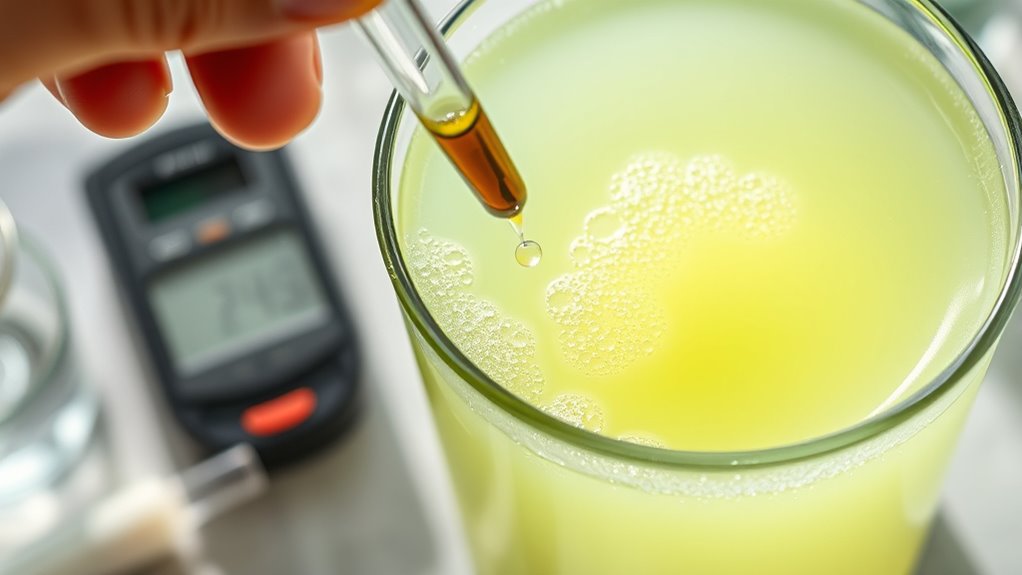
- Monitor pH regularly during treatment to prevent overshooting and maintain safe levels.
- Maintain proper circulation and test water frequently for effective, safe alkalinity adjustment.
Understanding Total Alkalinity and Its Impact on Your Pool
Understanding total alkalinity is essential because it directly affects your pool’s water balance and overall health. Total alkalinity measures the water’s ability to resist pH changes, acting as a buffer. If alkalinity is too high, your water can become cloudy, and scaling may develop on surfaces and equipment. Conversely, if it’s too low, you might experience pH swings that make maintaining proper water chemistry difficult. Maintaining proper alkalinity levels helps stabilize pH, preventing sudden shifts and reducing the need for frequent chemical adjustments. You should regularly test your pool’s alkalinity with a reliable test kit. Keeping it within the recommended range of 80-120 ppm ensures your water stays balanced, safe, and comfortable for swimmers. Proper alkalinity management is key to a clear, healthy pool.
Signs That Your Alkalinity Is Too High
If your pool water appears cloudy or hazy, it could be a sign your alkalinity is too high. You might also notice increased pH levels and scaling on your equipment or pool surfaces. Recognizing these signs early helps you take action to balance your water before damage occurs. Using test kits to regularly monitor water chemistry ensures you catch imbalances promptly.
Cloudy Water Appearance
When your pool water appears cloudy, it can be a sign that your alkalinity levels are too high. This cloudy look occurs because excess alkalinity causes the water to become imbalanced, leading to particles that don’t settle properly. You might notice the following:
- A hazy, opaque appearance that won’t clear with filtration.
- A film or haze on the surface, making the water look dull.
- Reduced clarity, with the pool seeming murky even after cleaning.
These signs indicate that your water chemistry needs adjustment. High alkalinity can also contribute to scaling and equipment issues if left unchecked. Addressing this early helps maintain clear, inviting water and prevents more serious problems from developing.
Increased Ph Levels
High alkalinity levels often cause your pool’s pH to rise above the recommended range, leading to noticeable signs that your water chemistry is off. You might notice the water feels slippery or the pH test shows a reading above 7.6. As the pH increases, you could see reduced chlorine effectiveness, making it harder to keep your pool sanitized. You may also observe cloudy water or scaling on the pool surfaces, indicating the imbalance. When alkalinity is too high, the water’s alkalinity acts as a buffer, preventing pH from dropping back to normal. This ongoing increase can lead to discomfort during swimming, such as eye or skin irritation, and can also damage your pool equipment over time. Recognizing these signs helps you take action before issues worsen. Additionally, consistent high alkalinity can contribute to silly pool mishaps, making it even more important to address the imbalance promptly.
Scaling on Equipment
Scaling on pool equipment is a clear sign that your alkalinity levels are too high. When alkalinity is excessive, you’ll notice a white, chalky deposit forming on your filters, heater, and pipes. This build-up can impair equipment function and reduce efficiency.
Here are three signs to watch for:
- A crusty, mineral-like film on pool equipment surfaces.
- Reduced water flow or pressure due to clogged filters or pipes.
- Increased energy costs as equipment works harder to circulate water.
If you see these signs, it’s time to lower your alkalinity to prevent further scaling. Addressing high alkalinity promptly helps maintain equipment longevity and keeps your pool running smoothly.
Why Choose the Acid-Aerate Method for Alkalinity Reduction
Choosing the acid-aerate method for lowering alkalinity offers a precise and effective approach to managing water chemistry. This method allows you to control alkalinity levels gradually, reducing the risk of overshooting and causing other issues. Unlike chemical addition alone, aeration helps stabilize pH and prevents sudden swings, making the process safer and more predictable. It’s also environmentally friendly, as it minimizes chemical use and waste. The acid-aerate method is suitable for pools with sensitive equipment or delicate finishes, since it avoids harsh chemical shocks. Additionally, it’s cost-effective over time, since it reduces chemical consumption and maintenance needs. Incorporating contrast ratio into your water management strategies can enhance your understanding of how different methods impact visual clarity and overall water quality. Overall, this approach gives you a safer, more controlled way to achieve the desired alkalinity levels without compromising water quality or equipment longevity.
Preparing Your Pool for Alkalinity Adjustment
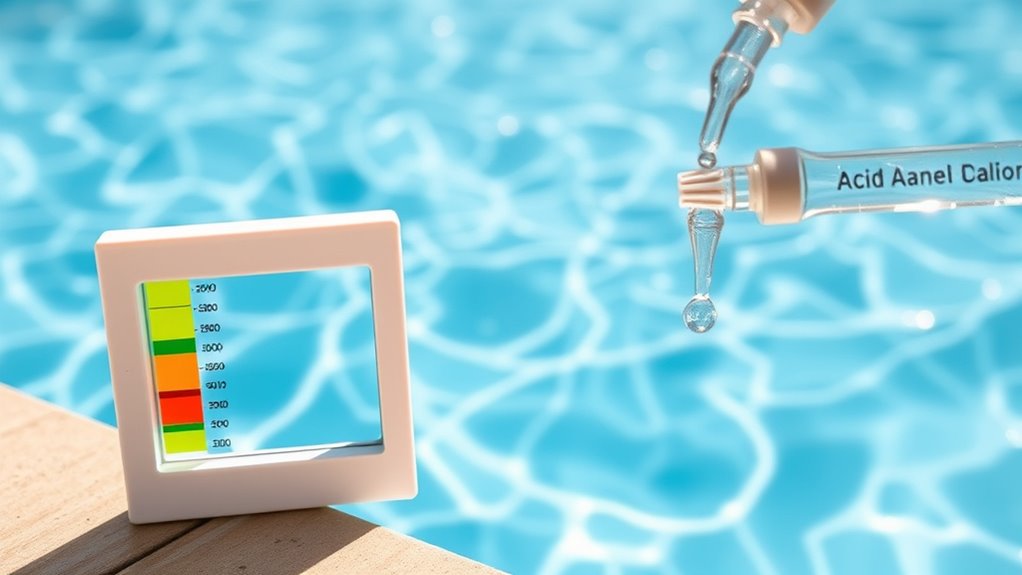
Before adjusting your pool’s alkalinity, it’s crucial to properly prepare the water and equipment to guarantee a smooth process. First, test your water’s current pH and alkalinity levels using a reliable test kit. Knowing the starting point helps you determine how much acid to add. Second, verify your pool’s circulation system is running, so chemicals distribute evenly. This prevents localized imbalances or damage. Lastly, clear the pool of debris and floating particles, which could interfere with chemical reactions or clog equipment. These steps create a stable, controlled environment, making your alkalinity adjustment safer and more effective. Proper preparation minimizes risks and guarantees your pool maintains ideal water balance throughout the process. Additionally, understanding automation in business can help you optimize your pool maintenance routines with automated systems for consistent results.
Gathering the Necessary Supplies and Safety Equipment
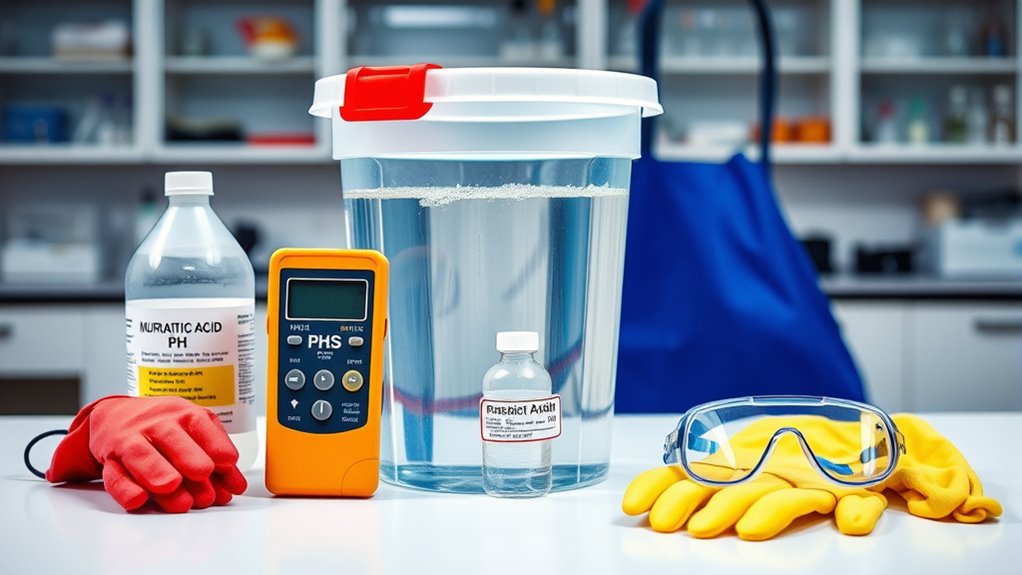
To effectively lower your pool’s total alkalinity, you need to gather the right supplies and safety equipment beforehand. First, get the acid recommended for pool adjustment, usually muriatic acid or sodium bisulfate. You’ll also need a clean plastic bucket to dilute the acid safely. A plastic or rubber brush and a long-handled pole will help you distribute the acid evenly. Safety gear is essential: wear chemical-resistant gloves, goggles, and a long-sleeved shirt to protect your skin and eyes. Keep plenty of water nearby in case of spills, and have a pool test kit ready to monitor alkalinity levels. Gathering these supplies before you start guarantees a smooth, safe process, minimizing risks and helping you achieve the desired alkalinity level efficiently. Proper filter maintenance and regular testing can prevent issues and ensure a healthy pool environment.
Step-By-Step Process to Lower Total Alkalinity With Acid

To lower your total alkalinity with acid, start by preparing a proper acid solution according to your pool’s needs. Then, add the acid gradually while keeping a close eye on your pH levels. Monitoring these levels guarantees you reach your target safely and effectively. Incorporating flow rate considerations can help ensure the acid is distributed evenly throughout the water.
Prepare Acid Solution
When lowering total alkalinity with acid, you need to prepare an appropriate acid solution carefully. First, choose the right acid, typically muriatic acid or dry acid, based on your pool’s needs. Second, determine the correct amount of acid needed to reach your target alkalinity, using test results and calculations. Third, dilute the acid properly before adding it to your pool to prevent localized damage or pH spikes. To do this, pour the acid slowly into a bucket of water—never the other way around—and stir gently. Always wear protective gear like gloves and goggles. This careful preparation guarantees safe handling and effective results, setting the stage for a gradual, controlled decrease in alkalinity. Proper water chemistry management is essential for maintaining a balanced and healthy pool environment.
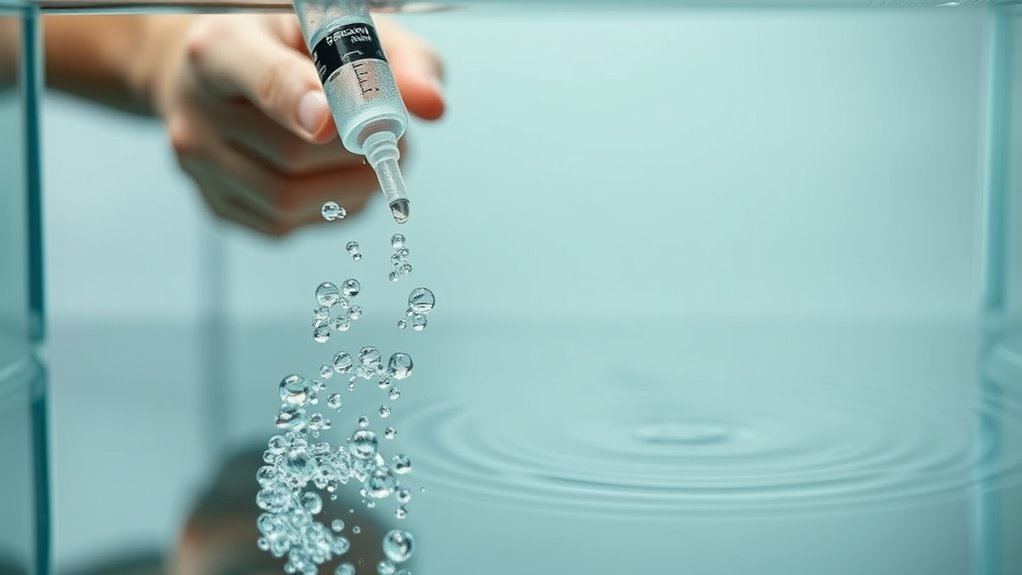
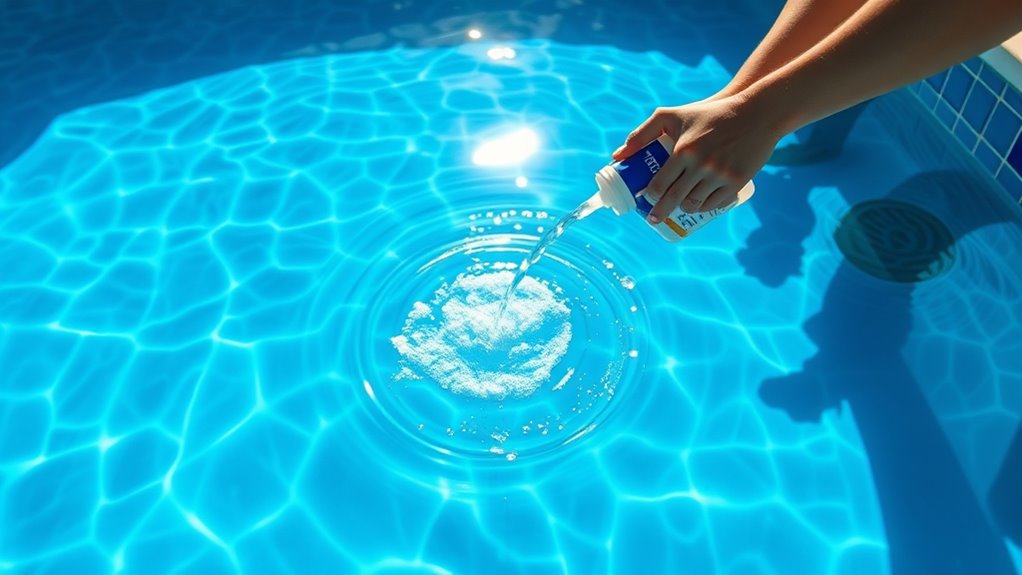
Add Acid Gradually
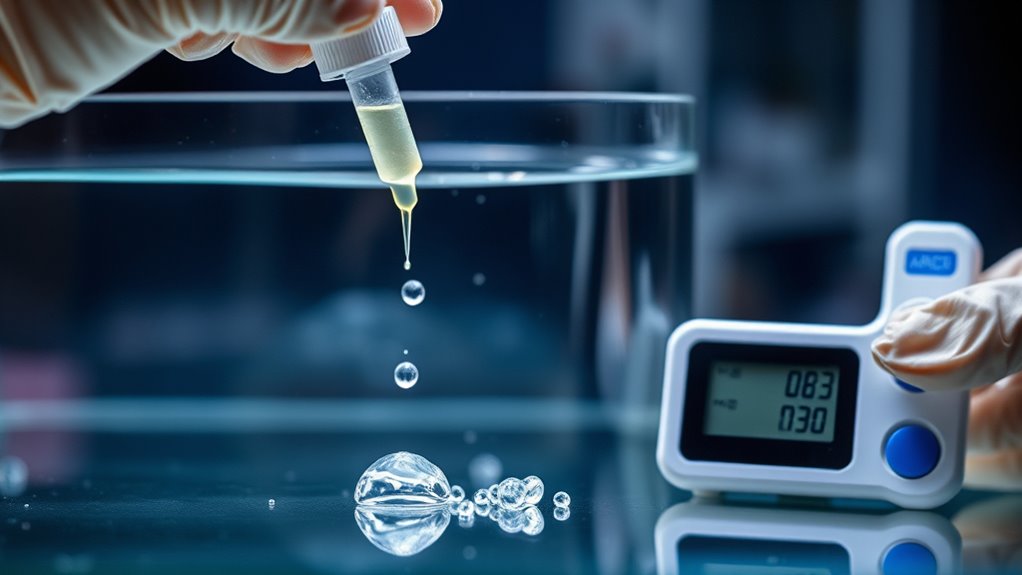
Before adding acid to lower total alkalinity, carefully plan to add it in small, manageable amounts. Pour the acid slowly into the water, ideally near the return jet or skimmer, to promote even distribution. Avoid pouring all at once, as rapid addition can cause sudden pH drops or localized damage. Stir the water gently with a paddle or use the pool’s circulation system to help mix the acid thoroughly. Keep a close eye on the test kit or meter, and add more acid only if needed. Patience is key—raising the alkalinity gradually minimizes risks and ensures you maintain control over the process. Taking your time helps achieve a safe, effective reduction without causing destabilization or damage to your pool.
Monitor Ph Levels
How can you guarantee the pH levels stay within the target range while lowering total alkalinity? Regularly monitoring your pH is essential. Use a reliable test kit or electronic meter to check levels frequently—at least every 15-30 minutes after adding acid. Keep these tips in mind:
- Take a sample from the pool center for accurate readings.
- Record each measurement to track changes over time.
- Adjust your acid addition based on the pH trend, stopping once it reaches the desired range.
- Ensure your testing method is accurate and reliable, as precise readings are crucial for safe alkalinity adjustments.
The Role of Aeration in Balancing Water Chemistry
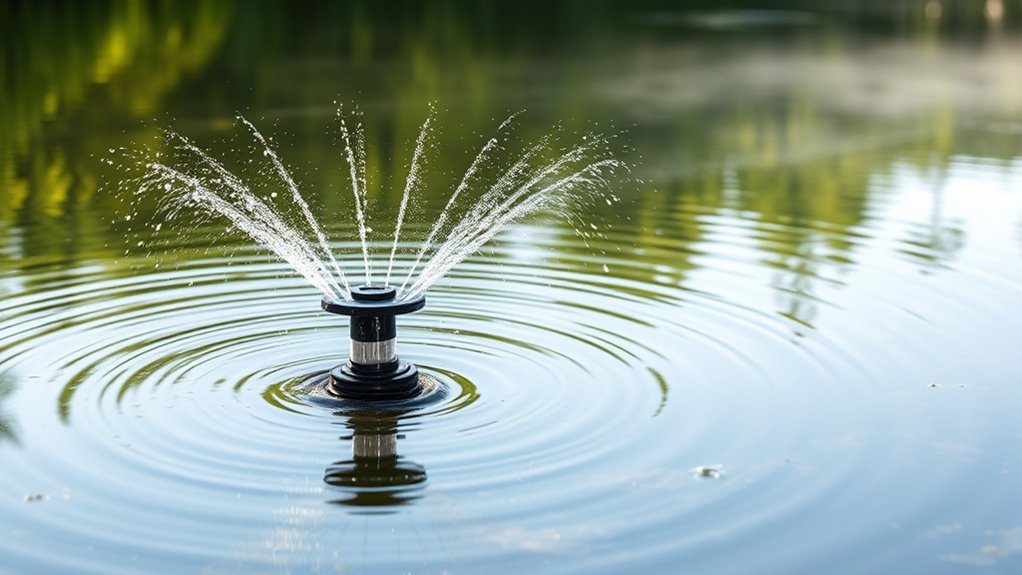
Aeration plays a crucial role in balancing water chemistry by increasing oxygen levels and promoting the release of excess carbon dioxide. When you aerate your water, you help reduce dissolved carbon dioxide, which can lower pH and contribute to high alkalinity. This process encourages the escape of gases that can skew your water’s chemistry, making it easier to manage alkalinity levels safely. Additionally, aeration helps stabilize the environment for aquatic life and prevents issues caused by stagnant, gas-heavy water. Proper aeration ensures your water remains balanced, supporting effective alkalinity adjustments. It’s a natural, safe method to improve overall water quality without introducing chemicals, making it an essential step in the acid-aerate approach to lowering total alkalinity. Recent AI discoveries in manipulating quantum particles and uncovering new physical laws highlight the importance of natural processes in maintaining balanced and healthy water chemistry.
Monitoring Ph and Alkalinity Levels Throughout the Process
You need to monitor your pH and alkalinity levels regularly to guarantee safe adjustments. Make changes gradually to avoid shocking the water chemistry. Keeping a close eye helps you maintain the right balance throughout the process. Additionally, understanding how alkalinity levels affect water quality can help you make more informed decisions during the adjustment process.
Track Levels Regularly
Regularly monitoring pH and alkalinity levels is essential to guarantee the process stays on course. Without consistent checks, you risk overcorrecting or causing imbalances. To keep track effectively, focus on these key steps:
- Test your water’s pH and alkalinity at least twice daily, especially after adding acid or aerating.
- Record each reading to observe trends and prevent sudden shifts.
- Use reliable test kits or digital testers for accurate, quick results.
These practices help you stay informed, ensuring adjustments are precise. Staying vigilant with regular monitoring allows you to respond promptly to changes, maintaining safe and effective control over alkalinity levels. Consistent tracking is the foundation of a successful acid-aerate process.
Adjust Slowly and Carefully
How can you prevent overcorrection and guarantee steady progress? The key is to make small adjustments slowly and carefully. Add acid gradually, waiting at least 15 minutes between tests to see how your pH and alkalinity respond. Rushing the process risks dropping levels too low or causing instability. Always monitor your levels closely, and don’t make large changes at once. If you notice a significant drop, pause and reassess before proceeding. Keep detailed records of each adjustment to track your progress accurately. Remember, patience is essential. Consistent, incremental changes help you reach your target levels safely without causing harm to your pool’s chemistry. This cautious approach ensures a stable, balanced environment for your pool.
Tips for Preventing Overcorrection and Ensuring Safety
To prevent overcorrecting when lowering total alkalinity, it’s essential to make adjustments gradually and monitor levels closely. Rapid changes can lead to unsafe swings in water chemistry. To stay safe and effective:
- Test your pool water frequently, especially after each addition of acid, to track alkalinity levels accurately.
- Add acid slowly, pausing between doses, to observe how the levels respond before continuing.
- Keep a detailed log of all adjustments to avoid accidental overcorrection and to understand how your pool reacts over time.
Post-Adjustment Maintenance for Long-Term Pool Health
After successfully lowering your pool’s total alkalinity, maintaining stable water chemistry becomes essential for long-term health. Regularly test your water, ideally weekly, to monitor pH, alkalinity, and sanitizer levels. Keep your pH within the recommended range of 7.2 to 7.6 to prevent future alkalinity fluctuations. Adjust chemicals carefully, adding small amounts gradually to avoid sudden changes. Keep your filtration system running efficiently to help stabilize water chemistry and prevent the buildup of contaminants. Maintain proper water circulation and cleanliness to support consistent chemical distribution. If you notice pH or alkalinity drifting outside ideal ranges, address it promptly with appropriate treatments. Consistent maintenance ensures your pool remains safe, clear, and balanced, reducing the risk of future alkalinity issues and prolonging the health of your pool equipment.
Frequently Asked Questions
Can the Acid-Aerate Method Be Used in Saltwater Pools?
Yes, you can use the acid-aerate method in saltwater pools. It works by adding acid to lower alkalinity and then aerating the water to raise pH, making it a safe, effective option. Just guarantee you carefully measure the acid and follow proper procedures to prevent damage to your pool equipment or salt system. Regular testing helps maintain balanced levels while using this method safely.
How Long Does It Typically Take to See Results?
Think of lowering alkalinity as slowly turning down a dimmer switch—you’ll see changes gradually. Usually, you’ll notice a difference within 24 to 48 hours after adding acid and aerating. Keep in mind, it might take a couple of days for the alkalinity level to stabilize. Regular testing during this period helps you track progress and avoid overshooting your target. Patience guarantees safe, effective results.
Are There Any Risks of Damaging Pool Equipment?
Yes, there are risks of damaging your pool equipment if you don’t follow proper procedures. Using too much acid or adding it too quickly can corrode metal parts, damage liners, or harm pumps and filters. Always measure carefully, add acid slowly, and guarantee proper aeration afterward. By sticking to recommended guidelines, you protect your equipment and maintain a safe, healthy pool environment.
What Are Alternative Methods for Lowering Alkalinity?
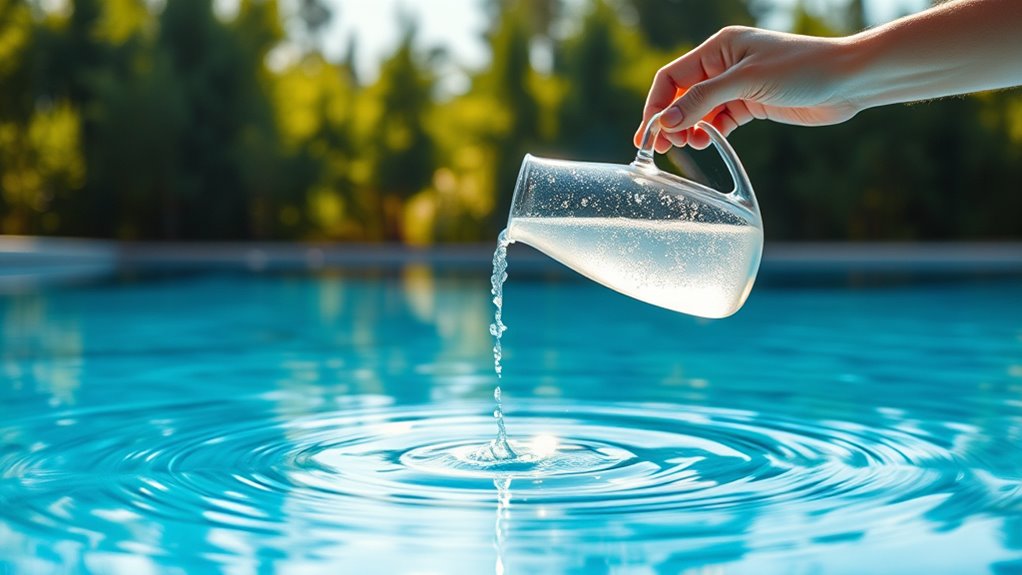
You can lower alkalinity by adding muriatic acid or sodium bisulfate directly to your pool, carefully following the manufacturer’s instructions. Another method is aeration, which involves introducing air into the water to increase pH and reduce alkalinity naturally. You might also dilute your pool water with fresh water, which lowers overall alkalinity levels. Always test your water frequently to avoid overcorrecting and damaging your pool’s chemistry.
How Often Should Alkalinity Be Tested During Treatment?
You should test your alkalinity daily during treatment to monitor progress and guarantee safety. Regular testing helps you determine if you need to add more acid or stop the process. Use a reliable test kit and follow the manufacturer’s instructions carefully. Once your alkalinity reaches the desired level, reduce testing frequency but continue to check periodically to maintain stable water chemistry and prevent future issues.
Conclusion
By mastering the acid-aerate method, you’ll transform your pool into an immaculate oasis that gleams brighter than a diamond and stays perfectly balanced for months. Say goodbye to algae invasions and cloudy waters—your pool will become the envy of every backyard. Just remember, a little patience and precision turn this complex-sounding process into a walk in the park. Before you know it, you’ll be swimming in crystal-clear perfection, effortlessly reigning as the pool hero!