The most overlooked step in DIY resurfacing is thorough surface preparation. Skipping or rushing this stage can lead to weak bonds, peeling, cracks, and premature failure. It’s vital to clean the surface, remove old finishes, repair damages, and guarantee compatibility before applying any new material. Proper prep creates a solid foundation for a long-lasting finish. Stay with us to discover essential tips to guarantee your resurfacing project turns out flawless.
Key Takeaways
- Proper surface cleaning and preparation are often overlooked but essential for long-lasting and durable resurfacing results.
- Skipping surface inspection for cracks, damage, or contamination can lead to premature failure and peeling.
- Adequate surface roughening or sanding ensures better adhesion, yet many DIYers neglect this critical step.
- Applying primers suited to the surface improves bonding, but is frequently skipped, risking poor adhesion.
- Protecting surrounding areas with masking and drop cloths prevents messes that can compromise the finish.

MiracleWipes for Paint Prep & Cleanup, Remove Tough Grime Build-Up, Wet Paint, Caulking, Epoxy, Colorant, and more from Hands, Surfaces, & Tools – 30 Count
Provides for convenient and quick cleanup for hands, surfaces and tools
As an affiliate, we earn on qualifying purchases.
As an affiliate, we earn on qualifying purchases.
Why Proper Surface Preparation Is Key to a Flawless Resurfacing
Proper surface preparation is essential because it guarantees the resurfacing material bonds effectively and lasts longer. When you prepare the surface correctly, you improve surface bonding, ensuring the new layer adheres securely. Skipping or rushing this step can lead to weak spots or peeling over time. It’s also important to contemplate material expansion; if the surface isn’t clean and stable, temperature changes can cause the material to crack or crack prematurely. Proper cleaning, roughening, and leveling create a solid foundation that accommodates expansion and contraction without damage. Additionally, understanding material compatibility can prevent issues related to surface reactions and deterioration. Ensuring the correct tools are used during preparation can significantly enhance the quality of the surface finish. Proper cleaning, roughening, and leveling create a solid foundation that accommodates expansion and contraction without damage. Furthermore, neglecting surface preparation techniques can compromise the durability of your project and lead to costly fixes later on. A thorough assessment of surface condition before starting can help identify potential issues early. Incorporating surface testing methods can also help verify that the preparation has been successful. Ultimately, thorough surface preparation ensures your resurfacing project looks professional, performs well, and maintains its integrity over the long run.

Tub and Tile Refinishing Kit – High Adhesion Bathtub Paint for Bathroom & Kitchen – Low VOC DIY Ceramic Resurfacing – Fast Drying Semi-Gloss Finish (16 oz)
ONE STEP TILE REFINISHING KIT – Skip messy 2-part epoxy mixing. Our single-component formula applies directly to bathtubs…
As an affiliate, we earn on qualifying purchases.
As an affiliate, we earn on qualifying purchases.
How to Protect Surrounding Areas Before You Start
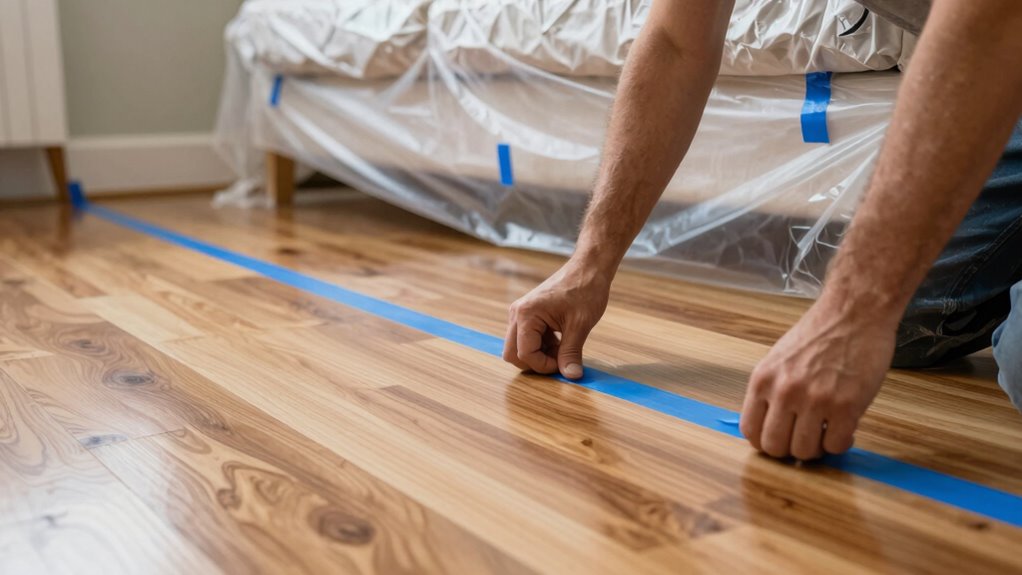
Before you begin resurfacing, make sure to cover nearby surfaces to prevent damage. Use protective tape to shield edges and delicate areas, ensuring clean lines and easy cleanup. Clear your work area of clutter to create a safe, efficient space to work in. Additionally, incorporating electric bike speed capabilities can help you plan your project more effectively. Being aware of regional flavors and techniques can also inform your approach, especially if your project involves decorative elements or finishes inspired by local styles. Recognizing surface compatibility is also essential to ensure that your chosen materials will adhere properly and last over time. Taking the time to properly prepare your workspace can make a significant difference in the quality of your finished project.
Cover Nearby Surfaces
To prevent damage and mess, covering nearby surfaces is an essential first step before starting your resurfacing project. Use edge protection to shield edges and corners from drips and splatters. Surface masking helps keep walls, fixtures, and floors clean and free of debris. Carefully apply masking tape along edges, ensuring a tight seal to prevent any paint or resurfacing material from seeping through. For larger areas, lay down drop cloths or plastic sheeting to catch drips and overspray. Secure everything firmly to avoid shifting during work. Proper surface masking and edge protection create a clean work zone, making cleanup easier and reducing the risk of accidental damage. Incorporating surface protection into your prep work is also vital for maintaining a professional finish. Additionally, choosing the right protective materials can enhance the durability of your surface coverage and simplify cleanup afterward. Using home-made supplies such as homemade lard for sealing or protecting surfaces can sometimes be a helpful addition to your prep toolkit, especially in off-grid or self-sufficient scenarios. Ensuring your prep supplies are well-organized and accessible can further streamline the process and improve overall results. Incorporating proper preparation techniques helps prevent costly mistakes and ensures a smoother resurfacing process.
Use Protective Tape
Applying protective tape is a quick and effective way to shield surfaces from overspray and accidental drips. Proper surface masking guarantees your surrounding areas stay clean and free from paint protection issues. Carefully apply the tape along edges, corners, and any areas you want to keep paint-free. Press down firmly to create a tight seal, preventing paint from seeping underneath. Use painter’s tape or specialized masking tape designed for surfaces and paint types. This simple step saves you time and frustration by avoiding the need for extensive cleanup later. Make sure to smooth out bubbles or wrinkles in the tape for a flawless line. Taking this extra precaution helps ensure a professional-looking finish and reduces the risk of damaging unintended surfaces. Proper surface preparation is essential for achieving the best results and a smooth, clean finish, especially when considering surface protection to prevent damage during projects. Additionally, choosing the right protective materials can make a significant difference in maintaining the integrity of surrounding areas. Incorporating knowledge about smart yard care tools and techniques can further enhance your prep process and overall project success.
Clear Work Area
Have you considered how to safeguard your surrounding areas before starting your resurfacing project? Clearing your work area is essential to prevent damage to your garden design and nearby surfaces. Remove any furniture, planters, or decorations that could get in the way or splattered with debris. Cover nearby plants with plastic sheeting to shield them from paint splatters or dust. If you’re changing the paint color, tape off edges, windows, and doors to avoid accidental stains. Clearing the area helps you work efficiently and reduces cleanup time later. A tidy, well-protected space ensures your resurfacing project stays contained and minimizes the risk of damaging your yard or interior spaces. Proper preparation makes the entire process smoother and more satisfying.

Tangibay Pre-Taped Masking Paper for Painting – 12 inch x 50 feet Tape and Drape Painters Paper, Paint Adhesive Protective Paper Roll for Covering Skirting, Frames, Cars and Auto Body (1 Roll)
【Masking Tape & Paper 2 in 1】 This pretaped masking paper features with premium masking paper and painter…
As an affiliate, we earn on qualifying purchases.
As an affiliate, we earn on qualifying purchases.
How to Assess Your Surface for Resurfacing Success
Before starting your resurfacing project, it’s crucial to evaluate the surface condition to guarantee success. Check for cracks, chips, or uneven areas that may need repair first. Additionally, confirm that the material is compatible with your chosen resurfacing method to achieve the best results.
Surface Condition Evaluation
To determine if your surface is suitable for resurfacing, you need to thoroughly assess its current condition. Start with a texture assessment by feeling the surface; it should be smooth and uniform. Perform moisture testing to check for excess dampness, as high moisture levels can cause failure. Look for cracks, peeling paint, or loose material, which indicate poor adhesion. Examine for stains or mold, signaling underlying issues. Finally, consider the surface’s age and previous treatments, as older or heavily treated surfaces may need extra prep.
- Texture consistency across the area
- Moisture levels and signs of dampness
- Presence of cracks or peeling sections
- Stains, mold, or mildew spots
- Overall surface age and previous coatings
Material Compatibility Check
After evaluating the surface’s condition, the next step is to determine if the existing material is compatible with the new overlay. Compatibility issues and material mismatch can cause failure or premature deterioration. To assess this, research the current surface material and its compatibility with your chosen resurfacing product. Some surfaces, like certain plastics or oil-based coatings, may not bond well with new layers.
| Surface Material | Compatibility with Resurfacing |
|---|---|
| Concrete | Usually compatible |
| Asphalt | May need primer |
| Wood | Often incompatible |
If you encounter material mismatch, consider surface prepping or alternative products to ensure longevity and success in your resurfacing project.

LAUCO EVA 2-Pack Double-Sided Semi Rigid Sanding Blocks Sponge for Woodworking, Furniture Finishing, Drywall Sanding, Metal Surface Prep, Paint preparation and Color Sanding
Elevate your sanding game with this innovative 2-pack of EVA sanding blocks! These versatile sanding tools offer exceptional…
As an affiliate, we earn on qualifying purchases.
As an affiliate, we earn on qualifying purchases.
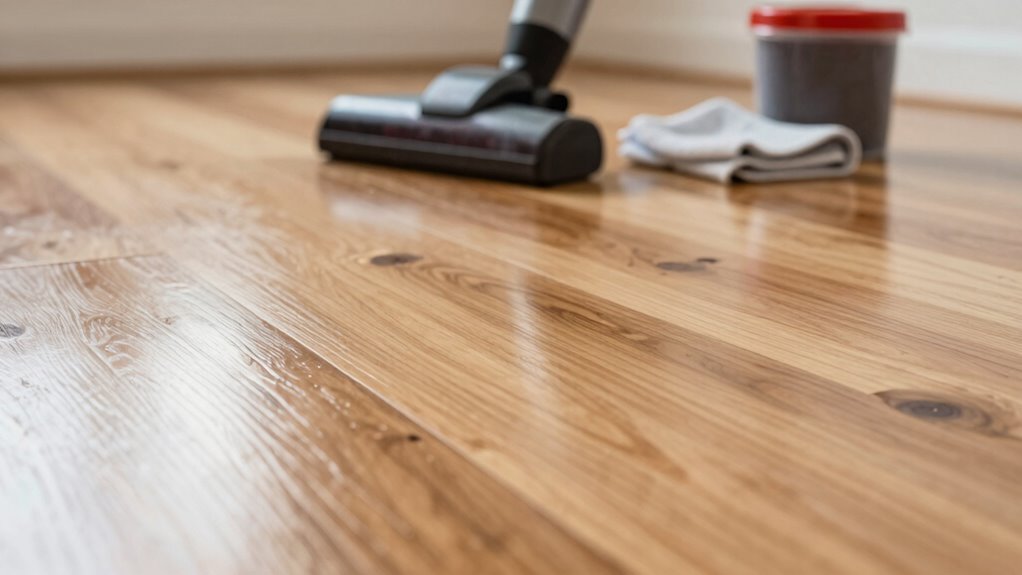
The Best Cleaning and Old Finish Removal Tips

Cleaning and removing old finishes is a crucial first step in resurfacing, and doing it effectively guarantees a smooth, professional result. Proper cleaning techniques ensure all dirt, grease, and debris are eliminated, allowing your new surface to adhere properly. When it comes to finish removal, use the right tools and methods to avoid damaging the material. Here are some top tips:
- Select the appropriate chemical stripper or sanding method based on the old finish
- Test a small area first to check compatibility and effectiveness
- Use a scraper carefully to lift old finishes without scratching the surface
- Wear protective gear like gloves and masks during chemical or sanding processes
- Clean thoroughly afterward with a damp cloth to remove residue before proceeding
These steps set a solid foundation for a flawless resurfacing job.
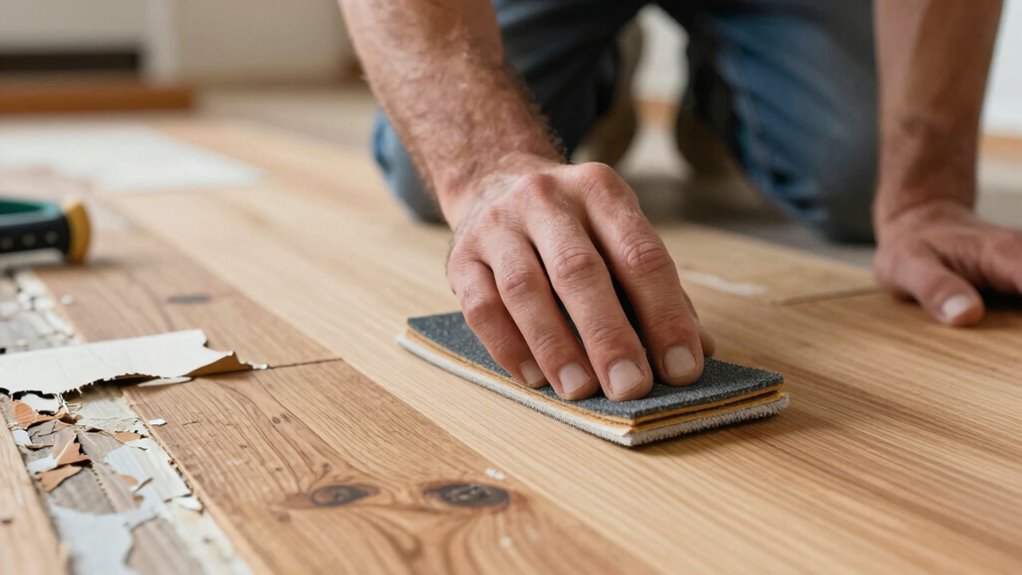
Sanding Techniques for Different Materials and Finishes
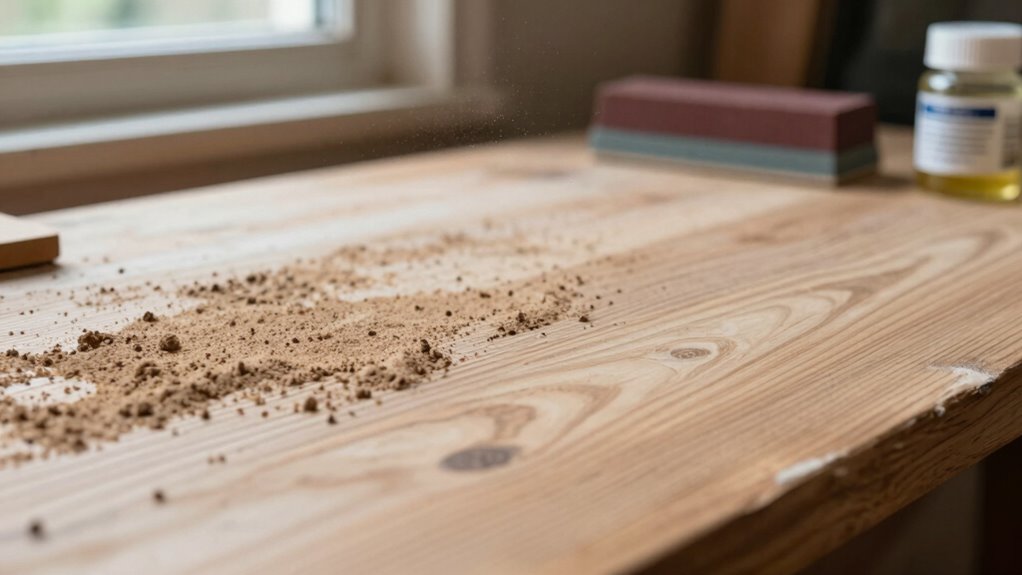
Choosing the right sanding technique depends on the material and finish you’re working with. For softwoods, use a fine-grit paper, sanding along the grain to avoid scratches. Hardwoods benefit from a medium grit, following the grain direction to preserve the finish sheen. For painted surfaces, start with a coarse grit to remove old paint, then progress to finer grits for a smooth surface. Metal surfaces require a different approach, often using abrasive pads or discs to prevent gouging. The table below summarizes techniques for common materials:
| Material | Grit Level | Technique Focus |
|---|---|---|
| Softwood | Fine (220 grit) | Sand along grain, preserve sheen |
| Hardwood | Medium (150 grit) | Follow grain, maintain finish sheen |
| Painted Surface | Coarse then Fine | Remove old paint, smooth surface |
| Metal | Coarse abrasive | Prevent gouging, smooth finish |
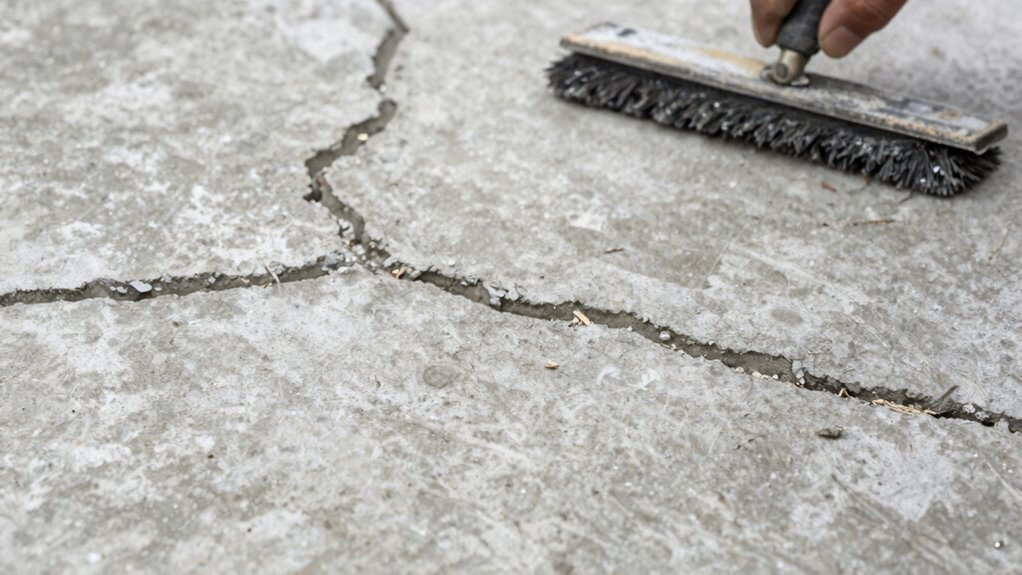
How to Repair Surface Damage for Lasting Results

Surface damage can compromise the appearance and durability of your project if not properly addressed. To guarantee lasting results, you need to repair surface imperfections before painting. Focus on restoring surface texture with proper techniques, like filling cracks and sanding rough spots. Use quality patching compounds for dents and gouges, then smooth them with fine-grit sandpaper. When applying paint, consider different painting techniques to blend repaired areas seamlessly. Be sure to prime repaired zones if necessary to improve adhesion. Correcting surface damage now prevents future peeling and uneven finishes. Here are key steps to follow:
- Fill cracks and holes with appropriate patching compounds
- Sand repaired areas evenly to match surface texture
- Clean dust thoroughly before painting
- Apply primer to repaired patches if needed
- Use consistent painting techniques for a uniform finish
When and Why You Should Apply a Primer
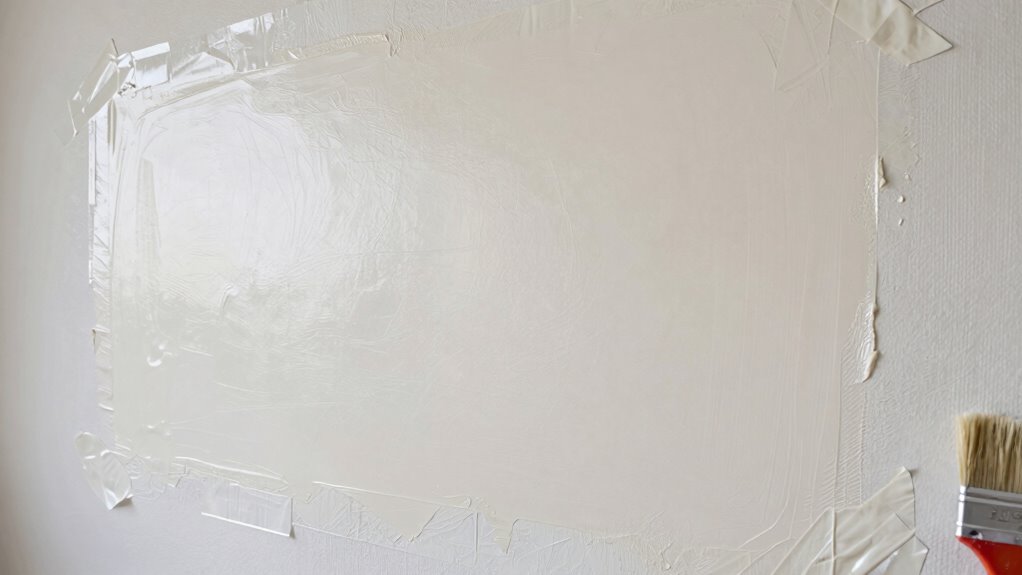
Applying a primer is vital immediately after repairing surface damage to guarantee your paint adheres properly and lasts longer. Primer application creates a uniform base, improving surface adhesion and preventing issues like peeling or bubbling. You should apply primer whenever you’ve repaired holes, cracks, or uneven areas, especially on porous or glossy surfaces. Doing so ensures the new paint bonds firmly, providing a smooth, durable finish. Skipping this step can lead to uneven coloration, reduced longevity, and the need for frequent touch-ups. Apply primer when preparing surfaces for repainting or resurfacing, as it seals the repaired area and enhances adhesion. Proper primer application is a critical step that saves you time and money in the long run by ensuring your paint job stands the test of time.
Final Inspection: Are You Ready for the New Finish?
Before declaring your project complete, take a thorough final inspection to guarantee everything is perfect. Check that the paint color matches your expectations and that no spots were missed. Assess the finish sheen—whether matte, satin, or gloss—to ensure it’s consistent across surfaces. Look for drips, runs, or streaks that need touch-up. Confirm all edges are clean and sharp, with no paint bleeding onto adjacent areas. Make sure surfaces are smooth and even, with no missed spots or uneven patches. Verify that the surface is fully dry and free of dust or debris. Consider these key points during your inspection:
Perform a final inspection to ensure perfect paint color, finish, edges, and dryness before completing your project.
- Consistent paint color without blotches
- Uniform finish sheen across all surfaces
- No drips, streaks, or runs
- Sharp, clean edges
- Fully dry and dust-free surface
Common Mistakes to Avoid During Resurfacing Prep
One of the most common mistakes during resurfacing prep is rushing through the cleaning and sanding process. Skipping proper surface contamination checks can lead to adhesion problems later. Always thoroughly clean the surface to remove dust, grease, and old paint. Moisture testing is vital—ignoring moisture levels can cause peeling or bubbling. Use the table below to remember key prep steps:
| Step | Importance |
|---|---|
| Surface contamination | Prevents future peeling and adhesion issues |
| Moisture testing | Ensures moisture isn’t trapped, avoiding defects |
Failing to address these issues can compromise your project’s durability. Take your time to do it right, and you’ll save yourself headaches—and redo work—in the long run.
Tips for Choosing the Right Tools and Materials
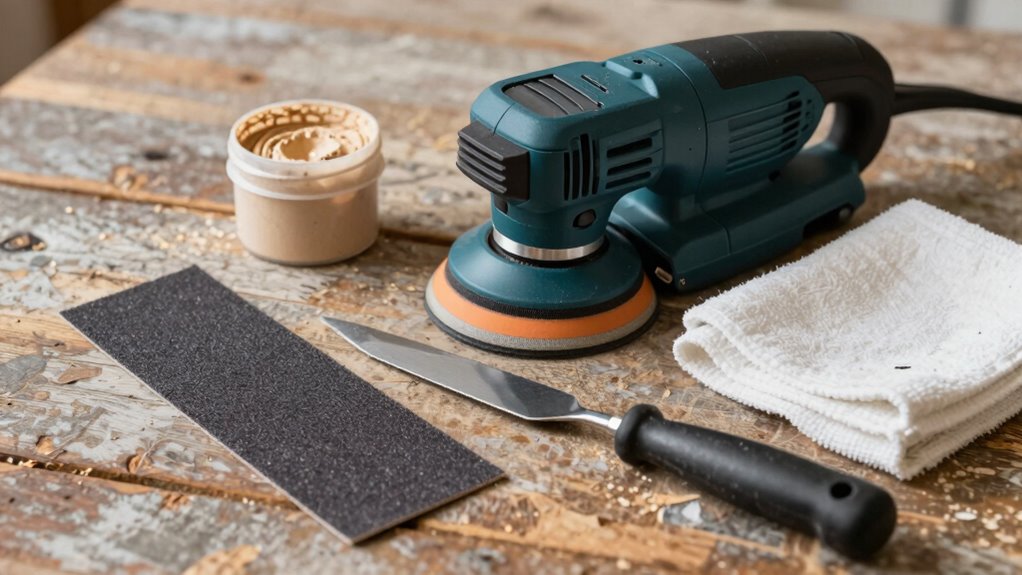
To guarantee your resurfacing project goes smoothly, start by evaluating your specific needs and the scope of the work. Then, match your tools to each task for efficiency and accuracy. Finally, choose high-quality materials to guarantee a durable and professional finish.
Assess Project Needs
Evaluating your project needs is the crucial first step in resurfacing prep. Proper assessment ensures you select the right tools and materials, saving time and preventing costly mistakes. Begin with surface testing to determine the existing condition and identify any issues like peeling or moisture problems. Consider your project planning, including the scope and desired finish. Ask yourself:
- What type of surface am I working on?
- Is there existing damage that needs repair?
- Do I need specific primers or sealers?
- Are there environmental factors like humidity?
- What tools will handle the surface safely and effectively?
Match Tools to Tasks
Choosing the right tools and materials is essential for a smooth resurfacing process. Before you start, match each task with the appropriate tools to avoid frustration and guarantee safety. Use power tools that are suited for the job, and always prioritize power tool safety—wear protective gear, read instructions, and handle tools carefully. For example, a sander with the right grit will produce a better finish than a random tool. Keep your tools organized with proper tool storage; this helps prevent accidents and keeps your workspace efficient. Selecting the correct tools minimizes mistakes, speeds up your work, and reduces the risk of damage to your surfaces. Remember, using the right tools for each task is the key to a successful and safe resurfacing project.
Select Quality Materials
How do you guarantee your resurfacing project turns out well? It starts with selecting quality materials. Choosing the right products ensures durability and a professional finish. Focus on material durability to prevent premature wear and tear, and consider surface porosity to determine how materials will interact with your surface. High-quality fillers and paints resist cracking and peeling over time.
Keep these tips in mind:
- Opt for materials suited to your surface type
- Check product reviews for durability insights
- Test surface porosity before application
- Use primers designed for surface conditions
- Invest in trusted brands for consistent results
Frequently Asked Questions
How Long Should I Wait After Surface Preparation Before Applying the Finish?
You should wait at least 24 hours after surface preparation before applying the finish, but drying time can vary based on environmental factors like humidity and temperature. If it’s humid or cold, give it extra time to fully dry and cure. To guarantee the best results, check that the surface feels dry and is free of dust or moisture before applying your finish. Patience here guarantees a smooth, long-lasting finish.
Can I Resurface Over Existing Paint or Coatings?
Like a master painter knowing when to layer, you can resurface over existing paint if you guarantee proper surface adhesion. First, check paint compatibility—some coatings may not bond well, leading to peeling. Lightly sand and clean the surface to create a rough texture, enhancing adhesion. If the existing paint is in good condition and compatible, you can confidently apply new coats, saving time and effort while achieving a professional finish.
What Safety Gear Is Essential During Surface Prep?
You should wear protective eyewear and respirator masks during surface prep to stay safe. Protective eyewear shields your eyes from dust, debris, and chemical splashes, while respirator masks protect your lungs from harmful dust, fumes, and particles. Always choose gear that fits well and is rated for the specific contaminants you’re working with. Prioritizing safety gear keeps you protected and makes your resurfacing project safer and more effective.
How Do I Identify Hidden Damages Beneath the Surface?
You can identify hidden damages beneath the surface by using inspection techniques like visual checks for cracks, holes, or discoloration, and tapping the surface to listen for hollow or uneven areas. Moisture testing is also essential; it reveals hidden moisture that can cause damage over time. Combining these methods helps you detect issues early, ensuring your resurfacing project is solid and durable without surprises lurking beneath the surface.
Is It Necessary to Sand Between Coats of Finish?
They say, “A job worth doing is worth doing right.” Sanding between coats of finish is vital because it improves sanding techniques and guarantees better finish adhesion. It removes dust, bumps, and uneven spots, creating a smooth surface for the next coat. Skipping this step can lead to peeling or uneven finishes. Always lightly sand with a fine-grit paper to achieve the best results and a professional look.
Conclusion
Skipping proper surface prep is like building on shaky ground—you’ll regret it when your finish cracks or peels. Take the time to assess, clean, and sand thoroughly, and you’ll set your project up for success. Think of prep as laying a solid foundation for a house; without it, even the best finish will crumble. Invest in prep now, and you’ll enjoy a smooth, flawless surface that stands the test of time.