
To stop choking your system, start by understanding your valve positions and signs of issues like leaks, noise, or low flow. Check visual indicators, handle orientation, and use measurement tools to verify proper placement. Always turn off the system before adjusting and follow safe procedures. Regular maintenance and professional help if needed can prevent problems early. Keep going to discover how to fine-tune your valves effectively and keep your system running smoothly.
Key Takeaways
- Regularly verify valve positions using visual indicators, handle orientation, and indicator lights to prevent system choking.
- Perform manual operation checks to confirm valves move smoothly and respond correctly to control inputs.
- Follow safe adjustment procedures: turn off the system, cool down, and make incremental changes to avoid leaks or damage.
- Use digital tools and calibration to ensure accurate valve positioning and prevent over-pressurization or flow restrictions.
- Conduct routine maintenance, inspect for corrosion or debris, and seek professional help for persistent or complex valve issues.

Swpeet 4Pcs Adjusting Valves Tools Set, Motorcycle Engine Valve Screw Adjusting, Include Square Hole Tool, Hexagonal Hole Tool, Straight Feeler Gauge and Offset Feeler Gauge(Metric and Imperial)
📿 【What You Get】—— You will get 5pcs adjusting valves tool set in total. Including 1pcs approx 1.93"×2.68"…
As an affiliate, we earn on qualifying purchases.
As an affiliate, we earn on qualifying purchases.
Why Valve Positions Matter and How They Impact Your System
Valve positions are crucial because they control the flow of fluids within your system, directly affecting performance and safety. When valves are properly set, they ensure ideal valve flow, allowing fluids to move smoothly and efficiently. Incorrect positioning can lead to pressure control issues, causing fluctuations that may damage equipment or create safety hazards. Proper valve positions help maintain steady pressure levels, preventing sudden surges or drops that could compromise system integrity. Additionally, measurement tools can be used to monitor and verify valve positions for optimal operation. Understanding how fluid dynamics influence flow and pressure enables you to anticipate how adjustments impact your system’s behavior. Recognizing how pressure regulation functions within your system allows for better management of operational parameters. By understanding how valve positions influence flow and pressure, you can prevent unnecessary wear and tear, extend equipment lifespan, and improve system reliability. Maintaining correct valve positions also supports temperature regulation within your system, helping to prevent overheating or freezing. Keeping valves in the correct position isn’t just about operational efficiency—it’s indispensable for safe, consistent performance of your entire system.

Zijipjy Upgraded Universal Brake Bleeder Kit – One Way Check Valve with Hose, Hydraulic Bleeding Tool for Car, Motorcycle & Clutch Systems
【One-Way Brake Bleeder Valve for Air-Free Operation】:This brake bleeder kit is engineered around a core one way brake…
As an affiliate, we earn on qualifying purchases.
As an affiliate, we earn on qualifying purchases.
How to Identify Valve Positions in Your Equipment
To identify valve positions, start by inspecting visual indicators like position labels or color codes on the equipment. You can also perform manual operation checks by carefully opening or closing the valve to see how it moves and where it stops. These simple steps help guarantee you understand your valve’s current state quickly and accurately. Additionally, understanding water flow control principles can assist in troubleshooting and optimizing your system’s performance. Familiarity with fluid dynamics can further enhance your ability to diagnose issues and improve efficiency. Moreover, recognizing how pressure differentials influence valve operation can provide deeper insights into system behavior and potential issues, especially when combined with system pressure monitoring. Knowing the valve type you’re working with allows for more precise adjustments and better maintenance practices.
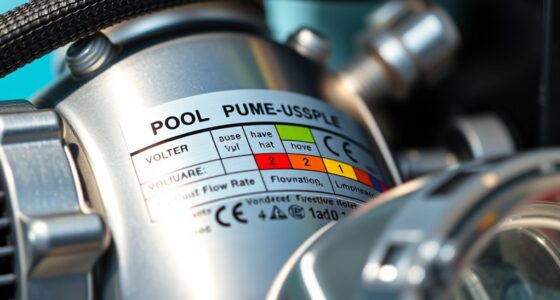
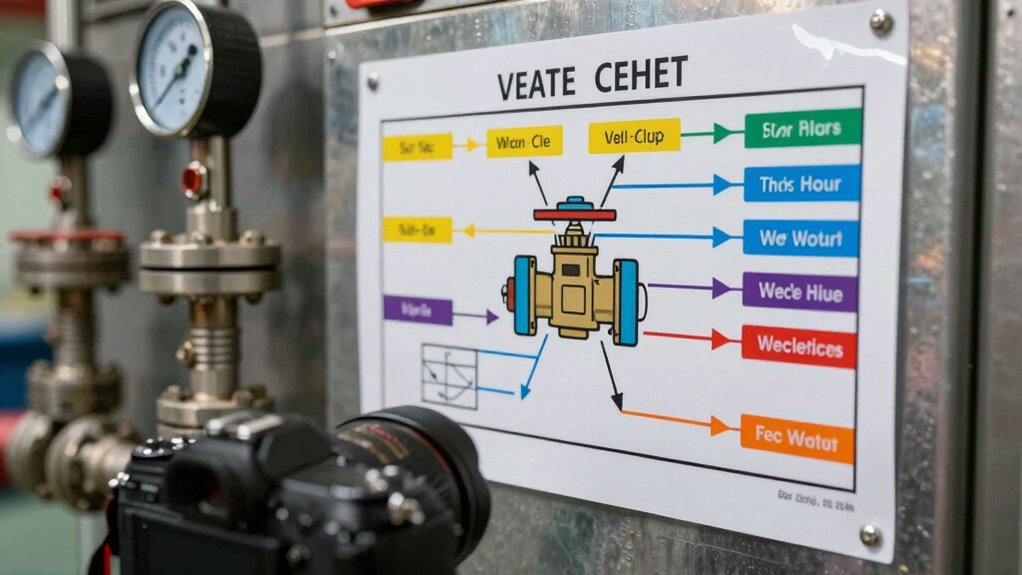
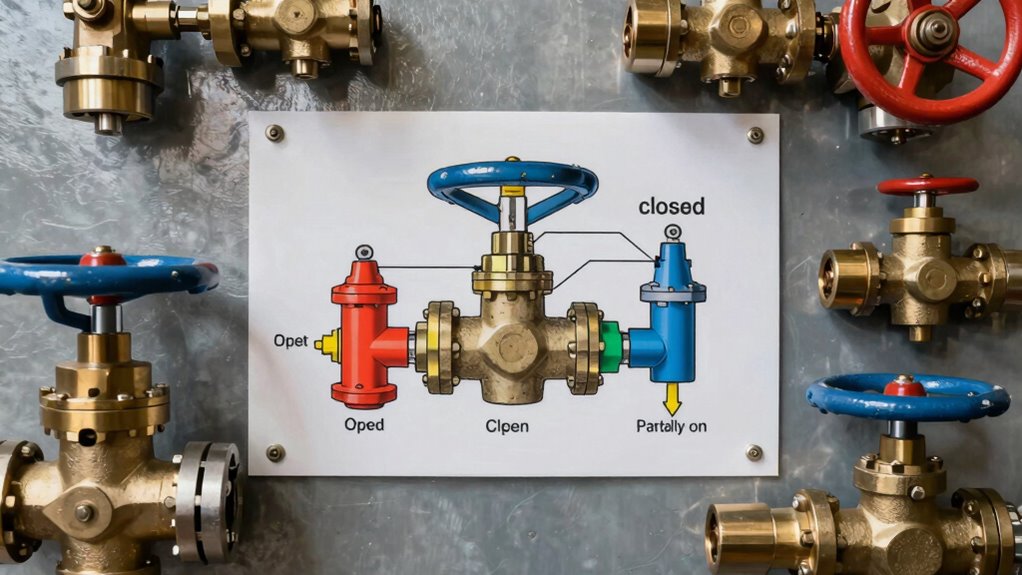
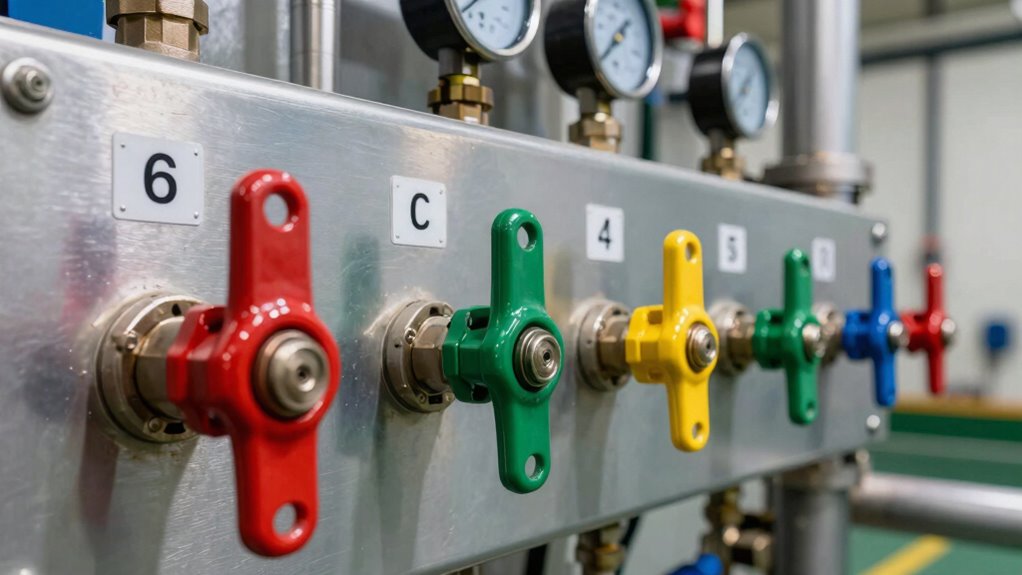
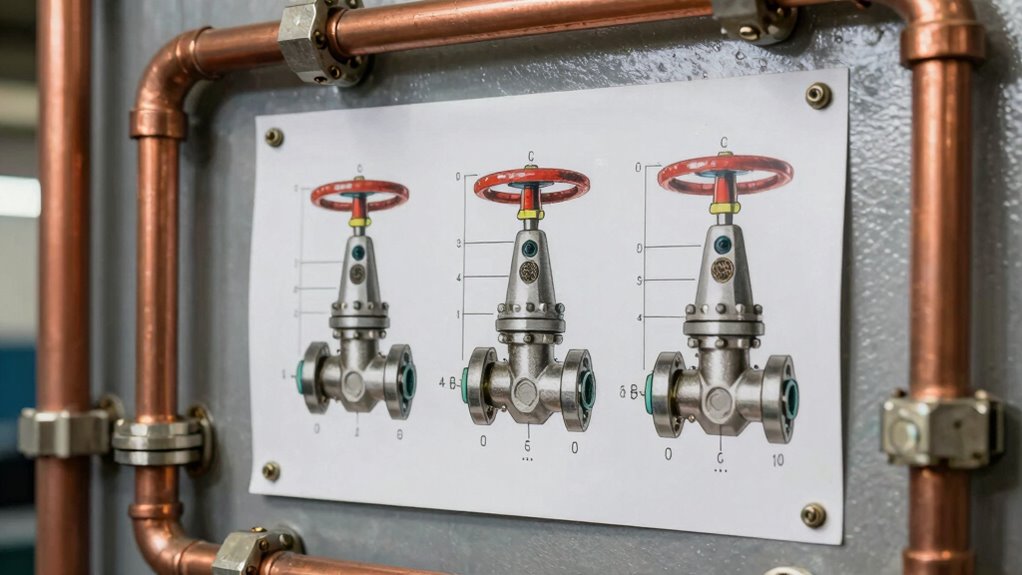
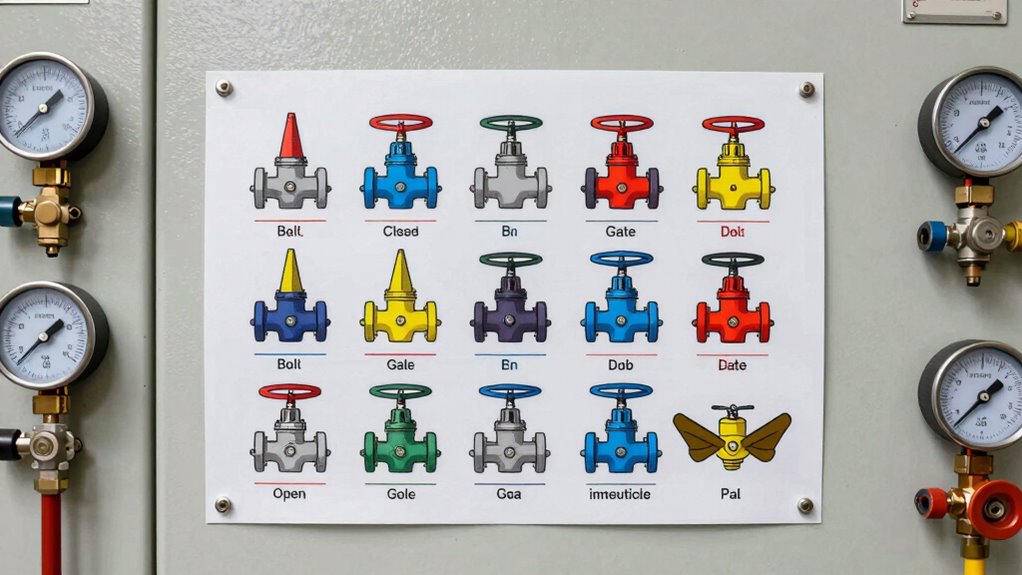
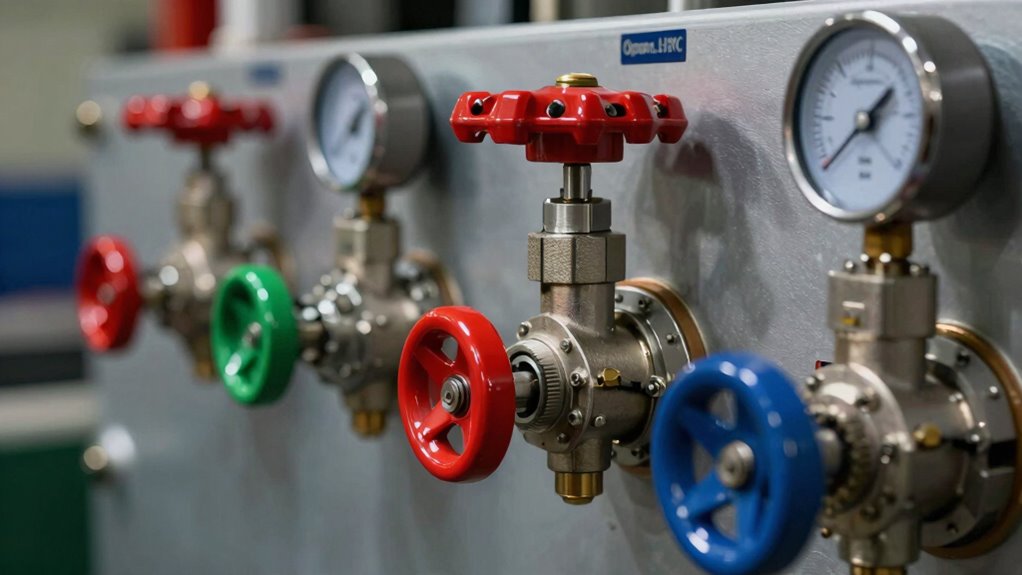
Visual Valve Indicators
Understanding visual valve indicators is essential for quickly and accurately determining the position of your equipment’s valves. These indicators use visual cues like color coding and symbols to simplify identification. For example, crochet styles for locs can be reflected in the variety of visual indicators used, making it easier to interpret different system setups. 1. Check for color coding—green usually signals open, red indicates closed, and yellow might mean standby or caution. 2. Look for visual indicators such as arrows, labels, or position markers directly on the valve or nearby panel. 3. Observe the valve handle orientation—a handle parallel to a pipe often means open, while perpendicular suggests closed. 4. Pay attention to indicator lights—some systems include LEDs that show valve status at a glance. Additionally, maintaining these visual cues can help prevent system malfunctions caused by misinterpreting valve positions. Regularly updating and verifying these visual cues ensures accurate system readings and prevents operational errors. Proper visual communication within your system can further enhance operational safety and efficiency. These visual cues are especially helpful in support breakfast settings, where quick recognition improves operational efficiency. Using these visual cues, you can quickly assess your system’s valve positions without guesswork or manual checks.
Manual Operation Checks
Manual operation checks are a straightforward way to confirm valve positions when visual indicators aren’t clear or available. You can do this by physically moving the valve handle or actuator and observing the response. This method helps determine if the valve is open, closed, or somewhere in between, especially when control algorithms rely on precise positions. When performing these checks, consider the valve material, as some materials may require extra effort or caution during manual operation. Use the following table for quick reference:
| Valve State | Manual Check |
|---|---|
| Fully Open | Turn handle and check flow |
| Fully Closed | Turn handle and confirm no flow |
| Partial Open | Slightly turn handle and observe flow |
| Stuck Valve | Resistance or no movement |
Regular checks ensure optimal control and system performance.

FELTECHELECTR 8Pcs Plastic Wheel Lug Nut Covers for Enhanced Safety Capped Sleeve Loose Label for Visibility Easy Installation Visual Indicator for Timely Tightening of Wheel Nuts
Comprehensive fit: these nut loosening covers are designed to fit a wide range of wheel hubs, providing a…
As an affiliate, we earn on qualifying purchases.
As an affiliate, we earn on qualifying purchases.
Signs Your Valve Settings Are Choking Your System
If your system isn’t performing as it should, your valve settings might be the culprit. You’ll notice reduced efficiency, higher energy bills, or strange noises that don’t belong. Recognizing these signs can help you catch and fix valve issues before they cause more damage. Additionally, improper valve adjustments can lead to heat buildup, increasing the risk of dangerous fumes and potential fire hazards. Regularly inspecting your gear care practices can also prevent such problems from arising, especially since proper maintenance plays a critical role in system safety and longevity. Moreover, understanding the importance of inclusive casting in manufacturing components can help ensure that replacement parts meet safety standards, reducing the risk of malfunction. Neglecting proper valve calibration can further exacerbate these issues over time.
Reduced System Efficiency
Have you noticed your system running slower or less efficiently than usual? This could be due to valve settings that restrict flow. Poor valve material or design can amplify this issue, causing unnecessary resistance. To identify if your valves are choking your system, check these signs:
- Reduced flow rate despite increased pressure
- Frequent pressure drops across valves
- Inconsistent system performance
- Increased operational strain
Incorrect valve material or flawed valve design can lead to improper flow regulation, decreasing overall efficiency. When valves aren’t ideal, they hinder the system’s ability to operate smoothly. Ensuring your valves are suitable for your system’s demands helps maintain optimal flow and efficiency. Regular maintenance and choosing the right valve material and design are key to preventing efficiency loss.
Increased Energy Consumption
When valve settings restrict flow and cause system inefficiencies, your equipment has to work harder to compensate, leading to higher energy consumption. Poor valve installation can cause uneven flow, forcing pumps and motors to operate at higher speeds or pressures. The valve material also plays a role; some materials may cause increased friction or resistance, further straining the system. If your system’s energy bills spike unexpectedly, it’s a clear sign that your valves may be choking the flow. This increased load means more power is needed to maintain performance, wasting energy and raising costs. Regularly inspecting valve installation and choosing appropriate valve materials can help ensure your system runs smoothly, preventing unnecessary energy waste caused by improper valve settings.
Unusual System Noises
Unusual noises in your system often indicate that valve settings are restricting flow and causing turbulence. When valves are misaligned or improperly adjusted, they create flow restriction, leading to disruptive sounds. Here’s what to look for:
- Whistling or squealing sounds, signaling flow restriction or valve misalignment.
- Banging or knocking noises, caused by sudden pressure changes from valve choke points.
- Rattling sounds, indicating loose components or turbulent flow.
- Hissing sounds, often a sign of high-velocity flow hitting restrictions or misaligned valves.
These noises point to issues with valve positioning that may be choking your system. Addressing valve misalignment and optimizing settings can eliminate flow restriction and restore smooth operation.

Tymate TM2 RV Tire Pressure Monitoring System, Tire Pressure Monitor with Solar Charge, TPMS with 4 Sensors(Max. 10) & 6 Alarm Modes, New Updated w/Color LCD Display, 0-87PSI for RV/Trailer/Truck/SUV
[Discover Five Alarm Modes and Simple Setup for Alarm Thresholds]: With the Tymate Tire Pressure Monitoring System TM2,…
As an affiliate, we earn on qualifying purchases.
As an affiliate, we earn on qualifying purchases.
How to Adjust Valve Positions Safely: A Step-by-Step Guide
Adjusting valve positions safely requires careful preparation and attention to detail. First, turn off the system and allow it to cool if necessary. Before making any adjustments, perform leak detection to identify any existing issues and prevent further damage. Check the valve lubrication to ensure smooth operation, applying lubricant if needed, but avoid over-lubricating. Use the appropriate tools to gently loosen the valve, then carefully adjust it to the desired position, making small, incremental changes. Keep a close eye on pressure gauges or system readings to confirm proper function. Once adjustments are complete, tighten the valve securely and recheck for leaks. Finally, restore the system and monitor it for any irregularities, ensuring your adjustments are safe and effective.
Best Practices for Maintaining Optimal Valve Settings
To keep your valves running smoothly, you should focus on proper calibration techniques and regular maintenance. Accurate calibration guarantees your valves stay set at ideal positions, saving you time and preventing issues. Consistent upkeep helps identify potential problems early and keeps your system operating efficiently.
Proper Calibration Techniques
Proper calibration guarantees valves operate at their ideal settings, which is crucial for maintaining system efficiency and safety. To achieve this, focus on accurate adjustments in your pneumatic control systems for precise flow regulation. Start by:
- Verifying the manufacturer’s specifications before calibration.
- Ensuring the pneumatic control signals are stable and free from leaks.
- Adjusting the valve settings gradually while monitoring flow rates.
- Using calibrated instrumentation to confirm optimal flow and pressure.
Regular Valve Maintenance
Regular maintenance is essential to keep valves operating at their best settings and prevent unexpected failures. You should regularly check and perform sensor calibration to ensure accurate readings, which is crucial for maintaining proper valve positions. Proper sensor calibration helps you detect issues early and avoid system choking or over-pressurization. Additionally, valve lubrication plays a vital role in reducing friction and wear, extending the lifespan of your valves. Make a routine of cleaning valve components and applying appropriate lubricants to keep them functioning smoothly. Inspect for corrosion or debris that could hinder movement or accuracy. By staying consistent with sensor calibration and valve lubrication, you maintain optimal valve performance, improve efficiency, and reduce downtime caused by avoidable issues.
Tools and Techniques for Monitoring Valve Positions Accurately
Accurately monitoring valve positions is essential for ensuring safe and efficient plant operations, and using the right tools and techniques makes this task much more manageable. First, you should rely on digital measurement devices that provide precise, real-time data. Second, regularly perform sensor calibration to maintain measurement accuracy. Third, consider using position transmitters or limit switches for reliable readings. Fourth, leverage data logging systems to track valve movements over time and identify inconsistencies. These methods help you detect off-position issues early, preventing system inefficiencies. By combining digital measurement with proper sensor calibration, you ensure your readings are trustworthy. Implementing these tools and techniques allows you to optimize valve performance and maintain safe, smooth operations.
Troubleshooting Common Valve Position Problems That Reduce Flow

When valve position issues arise, they often lead to a significant reduction in flow, disrupting process efficiency. Common problems include incorrect installation orientation and incompatible valve material, which can cause sticking or leakage. Check that the valve is installed according to manufacturer guidelines—incorrect orientation hampers proper operation. Also, ensure the valve material suits your fluid type; incompatible materials may swell or corrode, blocking flow. Here’s a quick comparison:
| Issue | Solution |
|---|---|
| Incorrect installation orientation | Reorient valve properly |
| Valve material mismatch | Replace with suitable material |
| Valve sticking or leakage | Inspect for debris or corrosion, replace if needed |
Address these issues promptly to restore optimal flow and prevent system choke points.
Preventative Tips to Avoid Valve-Related Flow Blockages
To prevent valve-related flow blockages, taking proactive steps can save you time and reduce downtime. First, choose the right valve selection for your application’s flow and pressure needs. Second, consider valve material compatibility with the media to prevent corrosion or buildup that can cause blockages. Third, regularly inspect and clean your valves to remove debris before it accumulates. Fourth, ensure proper installation and alignment to avoid unnecessary stress or leaks. By focusing on appropriate valve selection and valve material, you minimize the risk of obstructions. These preventative measures help maintain smooth flow, reduce maintenance costs, and extend your system’s lifespan. Staying vigilant with these tips ensures your system operates efficiently without unexpected interruptions.
How Improper Valve Settings Cause System Malfunctions
Improper valve settings can directly lead to system malfunctions by disrupting the flow and pressure balance within your equipment. If you choose the wrong valve material, like using a plastic valve in high-temperature environments, it can degrade or leak, causing pressure drops or blockages. Similarly, ignoring valve design considerations—such as inadequate size or improper sealing—can result in uneven flow or unexpected leaks. When valves are not correctly adjusted, pressure fluctuations may damage sensitive components or cause inconsistent operation. These issues often stem from neglecting proper valve material selection and design considerations, which are vital for maintaining system integrity. Ensuring your valves are suited to your system’s specific requirements helps prevent malfunctions caused by improper settings.
When to Call a Professional for Valve Adjustment Help
Knowing the signs that indicate a valve needs professional attention can save you time and prevent costly damage. If your system shows persistent issues like inconsistent flow, strange noises, or leaks, it’s time to call in a pro. Different valve materials and valve types, such as ball valves or gate valves, require specific expertise to adjust correctly. Here are key indicators:
Recognize signs of valve issues early to prevent costly damage and ensure system safety.
- Unusual wear or corrosion on valve components.
- Difficulty in achieving proper valve position or tight seal.
- Repeated system malfunctions despite basic adjustments.
- Uncertainty about the correct valve type or material for your system.
If you’re unsure about your valve’s material or type, or if adjustments don’t resolve problems, consult a professional to avoid damaging your system further. Proper adjustment ensures safety and efficiency.
Frequently Asked Questions
How Often Should I Check My Valve Positions?
You should check your valve positions during regular maintenance, ideally every 3 to 6 months. Incorporate valve maintenance into your inspection routines to guarantee peak performance. Regular checks help identify misalignments or issues early, preventing system choking or inefficiencies. Keep a maintenance log to track valve condition and adjustments, so you stay proactive in maintaining your system’s health and avoid costly breakdowns caused by neglected valve positions.
What Are the Common Signs of Valve Wear or Damage?
Like a seasoned detective noticing subtle clues, you’ll spot signs of valve wear or damage through symptoms like unusual noises, leaks, or inconsistent performance. Valve damage often presents as decreased efficiency, while wear symptoms include difficulty opening, sticking, or irregular movement. Keep an eye out for these signs, as neglecting them can lead to costly repairs. Regular checks help you catch issues early, ensuring your system runs smoothly and prolongs valve life.
Can Incorrect Valve Settings Cause Energy Inefficiency?
Yes, incorrect valve settings can cause energy inefficiency. When you don’t properly calibrate valves, pressure regulation becomes inconsistent, leading to excess energy consumption. Misadjusted valves may over-pressurize or under-pressurize systems, forcing pumps and compressors to work harder than necessary. Regular valve calibration ensures ideal pressure regulation, reducing waste and improving overall system efficiency. Keep an eye on valve settings to save energy and maintain smooth operation.
Are Digital Tools Necessary for Monitoring Valve Positions?
In the age of dial-up connections, digital tools aren’t strictly necessary for monitoring valve positions, but they make your job easier. Digital monitoring provides real-time data, reducing reliance on manual inspection, which can be slow and error-prone. While manual inspection still offers value, embracing digital tools guarantees you catch issues early, optimize efficiency, and prevent system choke points before they become costly. Don’t rely solely on old-school methods—upgrade your monitoring approach.
What Safety Precautions Should I Take During Valve Adjustments?
When adjusting valves, always prioritize safety by performing manual calibration first to make certain of precise settings. Make sure you’re familiar with your system’s emergency shutoff procedures, so you can act quickly if something goes wrong. Wear appropriate personal protective equipment, and never bypass safety controls. Double-check valve positions before and after adjustments, and communicate with your team to maintain a safe environment throughout the process.
Conclusion
Think of your system as a delicate dance, where each valve is a crucial partner. When valves are out of sync, the performance falters, choking the flow and risking a fall. By respecting their positions and making mindful adjustments, you keep the rhythm steady. Remember, you’re the conductor guiding this symphony—listen closely, stay attentive, and guarantee each valve plays its part perfectly. That’s how you keep the system flowing smoothly, avoiding chaos and ensuring harmony.