
To avoid bad readings, start by carefully preparing the sampling site, removing debris, and ensuring the surface is uncontaminated. Use suitable, sterilized equipment and handle samples gently, labeling them immediately with clear, waterproof tags. Maintain consistent techniques, prevent cross-contamination by changing gloves, and store samples properly during transport. Paying attention to these details keeps your results accurate from the start—continue reading to discover how to perfect each step for reliable data.
Key Takeaways
- Ensure the sampling site is free of debris, dust, and contaminants before collection.
- Use proper, sterile equipment compatible with the sample type to prevent contamination.
- Label samples immediately with accurate details to avoid mix-ups and errors.
- Handle samples carefully, avoiding contact with inside surfaces and maintaining consistent techniques.
- Transport samples in insulated, sealed containers and store under recommended conditions to preserve integrity.
Understanding the Importance of Proper Sample Handling
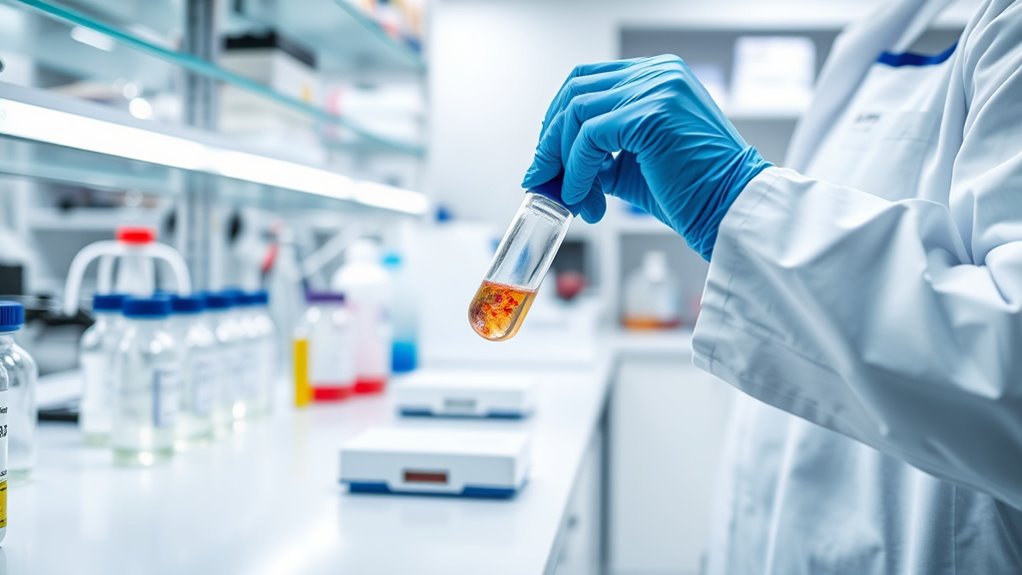
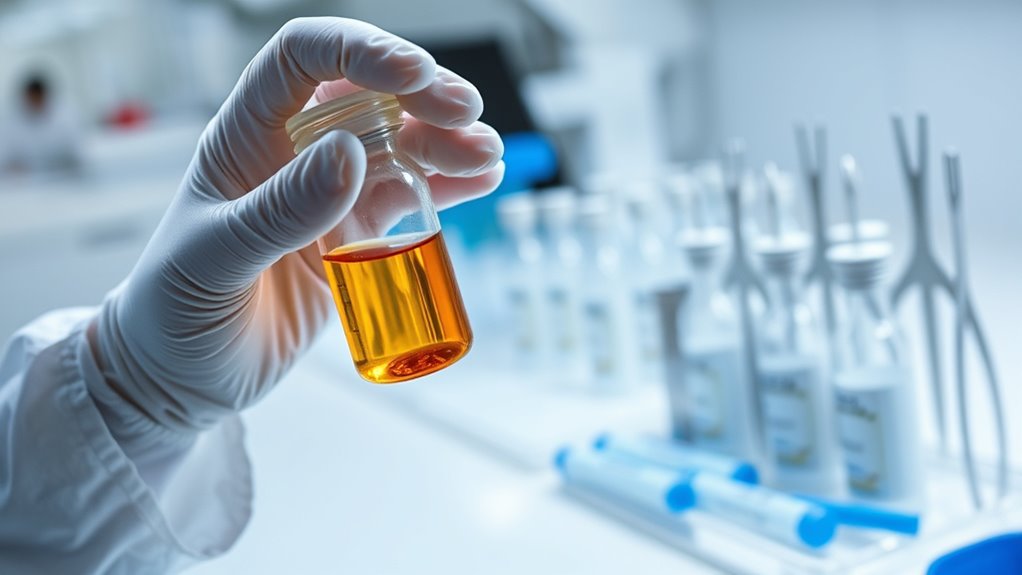
Why does proper sample handling matter so much? Because mishandling can compromise your results, leading to inaccurate readings and flawed conclusions. If samples aren’t collected, stored, or transported correctly, contaminants can enter, or the sample’s integrity can degrade. This can result in meditation techniques being misinterpreted or producing inconsistent outcomes. This risks skewing data and wasting time and resources on repeat tests. Proper handling ensures the sample remains representative of the original conditions, preserving its chemical, biological, or physical properties. It’s vital to follow strict protocols to prevent cross-contamination, temperature fluctuations, or exposure to light and air. When you handle samples correctly, you safeguard the validity of your analysis, making your results reliable and meaningful. Inaccurate data can have serious consequences, so understanding the importance of proper handling is essential for accurate, trustworthy testing.
Selecting the Right Sampling Equipment and Materials
Choosing the right sampling equipment and materials is vital for accurate results. You need to guarantee your tools are compatible with the sample type and suited for the specific environment. Selecting proper materials helps prevent contamination and preserves sample integrity. Additionally, understanding operating hours for support or services can ensure timely assistance if needed.
Subheading 1: Equipment Compatibility and Suitability
Selecting the appropriate sampling equipment and materials is essential to guarantee accurate and reliable sample collection. You need equipment that’s compatible with the sample type and suitable for the environment. Using incompatible tools can cause contamination or inaccurate readings. Check specifications like material composition and design features to verify they match your sampling needs. For example, avoid metal tools for corrosive samples and opt for inert materials like plastic or glass. Consider the following:
| Equipment Feature | Importance |
|---|---|
| Material | Prevents contamination and chemical reactions |
| Design | Ensures ease of use and sample integrity |
Choosing the right tools helps maintain sample purity and accuracy, ultimately safeguarding your results. Compatibility and suitability are the foundation of trustworthy data. Ensuring your equipment is designed to prevent cross-contamination is crucial for maintaining the integrity of your samples.
Subheading 2: Proper Material Selection
Proper material selection plays a crucial role in guaranteeing sample integrity. Choosing the right materials prevents contamination, chemical reactions, and degradation that could compromise your results. Always match the sampling material to the specific analytes you’re testing for, considering factors like chemical compatibility and inertness. For example, use glass or high-density polyethylene containers for most aqueous samples, and avoid metals that might react with sample constituents. Make certain materials are clean and free from residues that could alter readings. Select equipment designed for your sample type, such as sterile swabs for microbiological work or non-reactive containers for sensitive chemicals. Proper material choice minimizes errors and maintains sample quality from collection through analysis. Additionally, understanding the properties of paint sprayer materials can help prevent chemical incompatibilities that might affect your sampling process. Remember, good material selection is the foundation for accurate, reliable data.
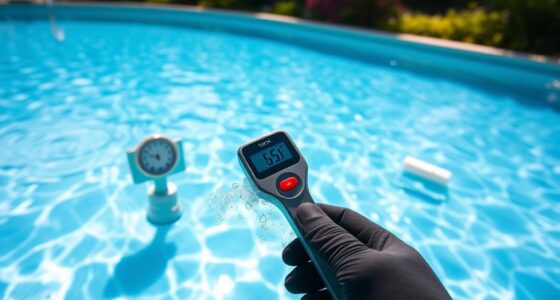
Preparing the Sampling Site and Environment
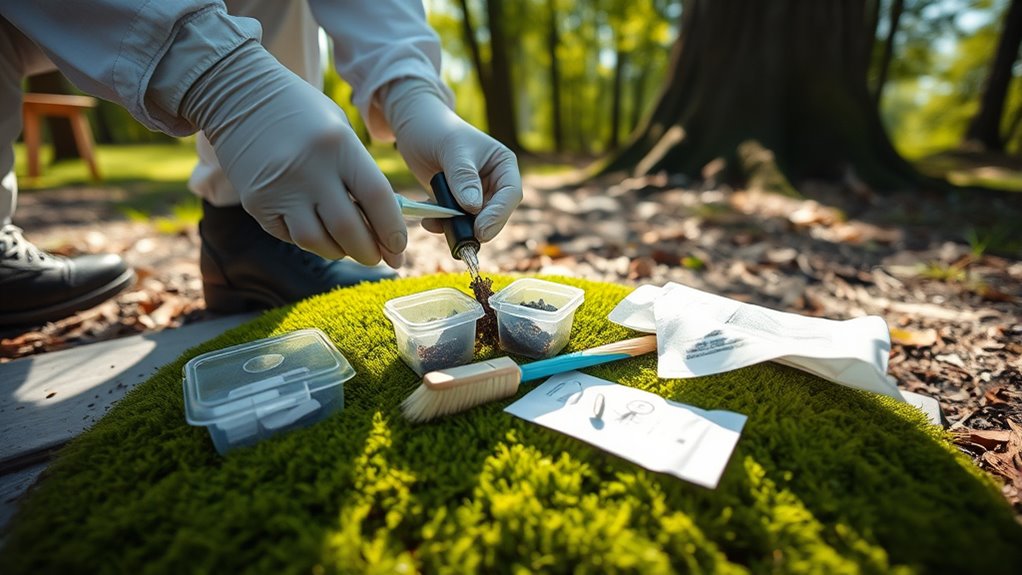
Before collecting samples, you need to prepare the site and environment to guarantee accurate results. This step minimizes contamination and variability. First, clear the area of debris, dust, or any substances that could skew readings. Ensure the surface is stable and uncontaminated. Consider environmental factors like wind, temperature, and humidity, which can affect samples. To illustrate, review the table below:
| Site Condition | Action Needed |
|---|---|
| Contaminated surfaces | Clean with appropriate disinfectant |
| Windy conditions | Shield sampling area |
| Temperature fluctuations | Choose a stable environment |
Proper preparation helps maintain sample integrity, reducing errors caused by external influences. Taking these steps ensures your samples truly reflect the environment you’re testing. Additionally, understanding sampling protocols can help optimize the accuracy of your results.
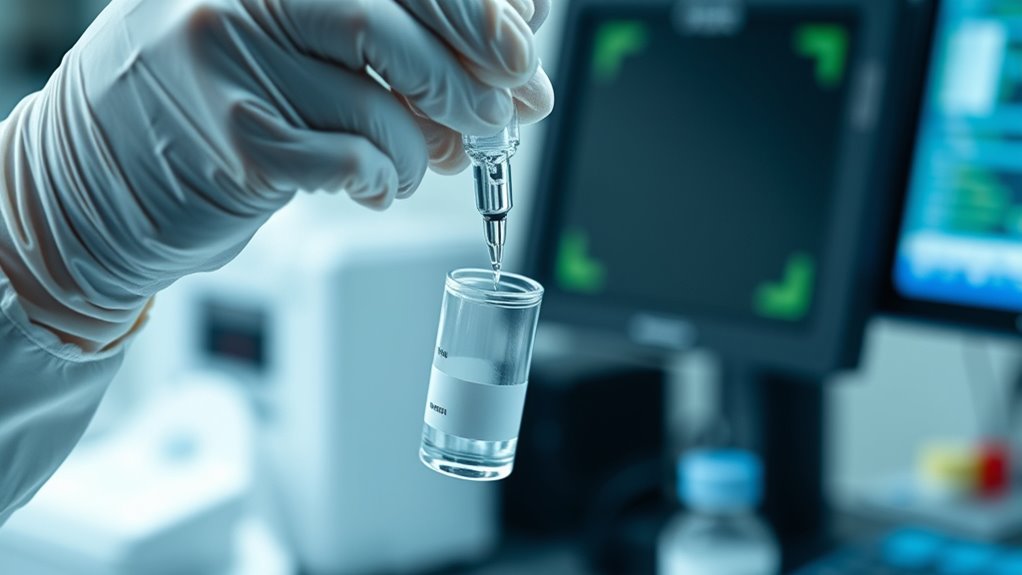
Collecting Samples Consistently and Carefully
Once you’ve prepared the sampling site to minimize contamination, focus on collecting samples in a consistent and careful manner. Use the same technique each time, whether it’s scooping, pouring, or pipetting. Handle containers by their necks or rims to avoid touching the inside or opening. Fill samples to the designated level without overfilling or underfilling, which can skew results. Maintain steady hands, and avoid rushing; consistency ensures your samples are comparable. Label each container immediately with relevant details like date, time, and location. Always follow the same sequence of steps to reduce variability. Be mindful of your headphone connection, ensuring it is secure to prevent interruptions during sampling. By paying close attention to your technique, you help guarantee your data is accurate and reliable, setting a strong foundation for meaningful analysis.
Preventing Cross-Contamination During Collection
To prevent cross-contamination during sample collection, you need to be deliberate and attentive with your handling techniques. Always use new gloves or disinfect your hands between samples to avoid transferring residues. Use sterile tools and containers, ensuring they are properly sterilized or sealed. When collecting multiple samples, change gloves or disinfect tools after each one. Avoid touching the inside of containers or sample areas with your hands or non-sterile surfaces. Work methodically, keeping each sample separate from others, and never reuse collection devices. Label samples after collection to prevent mix-ups that could lead to contamination. By staying focused and following strict protocols, you minimize the risk of cross-contamination, ensuring your samples remain accurate and reliable. Additionally, understanding proper sample preservation techniques can help maintain sample integrity during transport and storage.
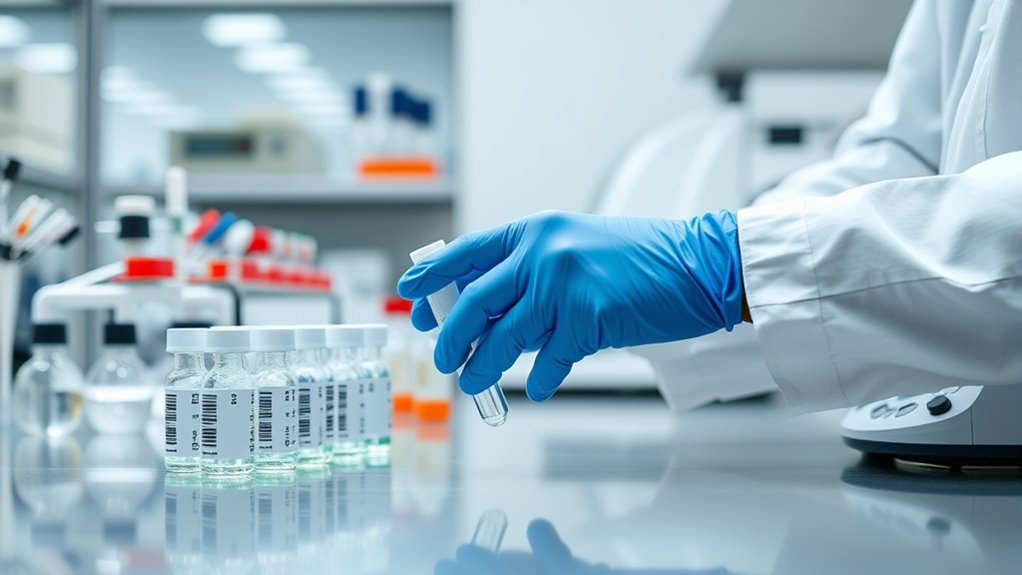
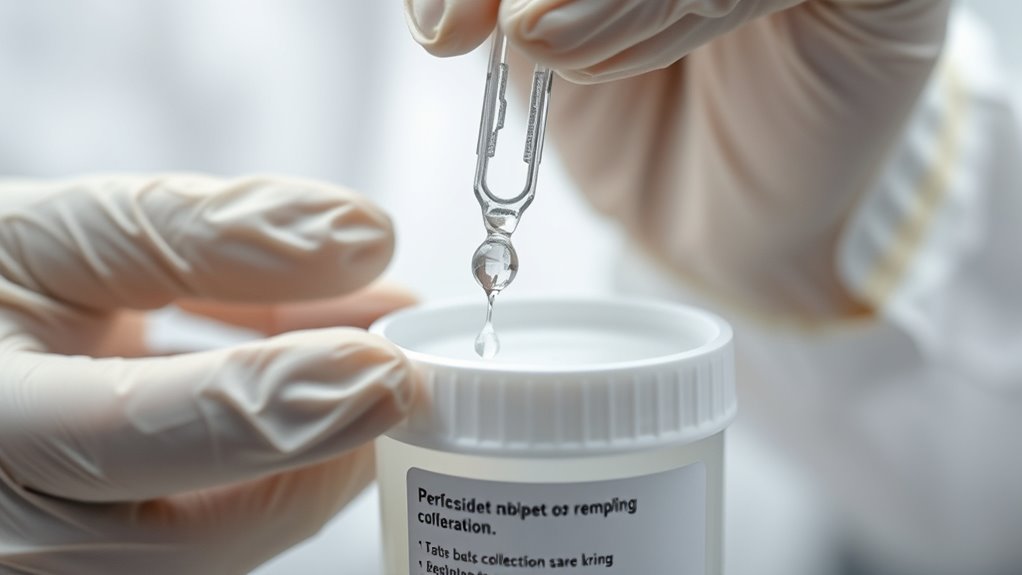
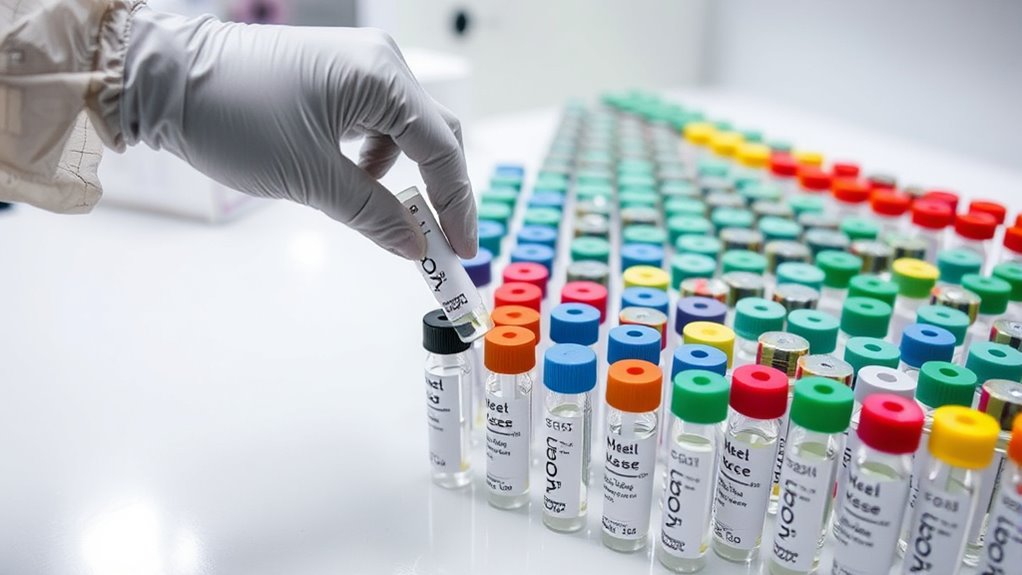
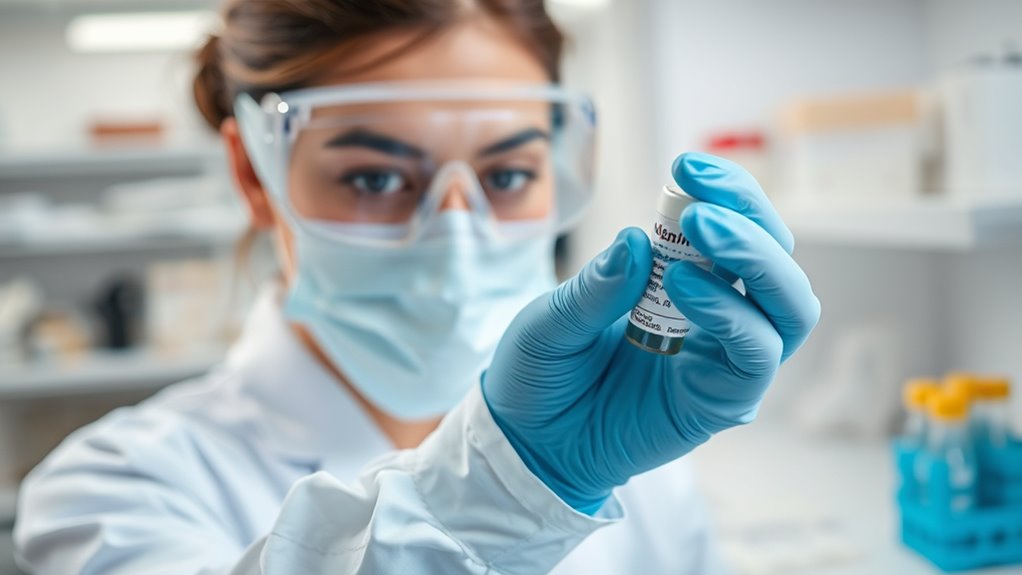
Proper Labeling and Documentation of Samples
You need to guarantee each sample is clearly labeled with essential identification details to prevent mix-ups. Accurate collection information should be recorded immediately to maintain data integrity. Consistent documentation practices help you track samples effectively and avoid errors throughout the process. Additionally, implementing dynamic communication exercises can improve team coordination and ensure everyone is aligned during sample handling.
Clear Sample Identification
Have you ever encountered confusion or errors due to unclear sample labels? Clear sample identification is essential to prevent mistakes and guarantee accurate results. To achieve this, focus on these key steps:
- Use legible, permanent labels with precise information like sample type, date, and location.
- Confirm labels are securely attached and visible throughout all handling stages.
- Keep documentation organized and cross-checked with labels to avoid mismatches.
- Incorporate standardized labeling protocols to ensure consistency across all samples.
Accurate Collection Details
Accurate collection details hinge on proper labeling and thorough documentation at every step of the sampling process. Clear labels prevent mix-ups, while detailed notes ensure traceability. Use labels that resist moisture and chemicals, and double-check information like date, time, location, and sample ID. Document any unusual conditions or observations during collection, such as temperature or contamination risks. To keep things organized, consider this table:
| Labeling | Documentation |
|---|---|
| Use waterproof labels | Record collection conditions |
| Include detailed info | Note any anomalies |
| Verify label placement | Log sample handling procedures |
This systematic approach helps avoid errors, ensures sample integrity, and supports reliable analysis down the line. Proper labeling and documentation are your first line of defense against bad readings. Additionally, implementing data-driven strategies can further enhance the accuracy and effectiveness of your sample collection process.
Consistent Documentation Practices
Maintaining consistent documentation practices is essential for guaranteeing the reliability of your samples. Proper labeling and thorough records prevent mix-ups and data errors. To do this effectively, focus on these key steps:
- Clearly label each sample with unique identifiers, collection date, and location to avoid confusion.
- Record detailed information immediately, including sample type, collector’s name, and any special handling instructions.
- Use standardized forms or digital tools to ensure consistency across all samples, making data retrieval easier.
Appropriate Storage and Transportation Techniques
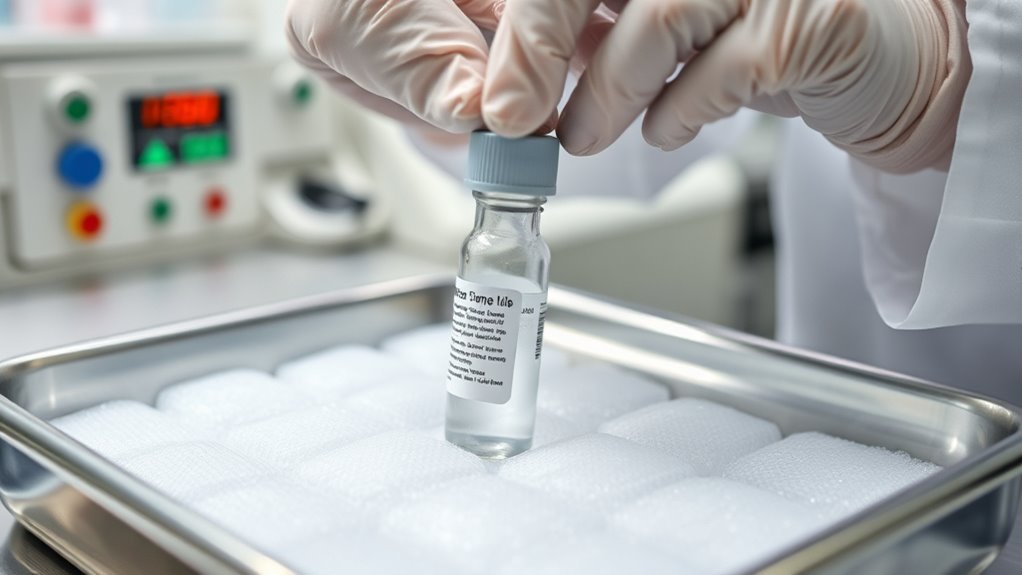
Proper storage and transportation are essential to preserving the integrity of your samples. If samples aren’t stored correctly, they can degrade or become contaminated, leading to inaccurate results. Use appropriate containers that seal tightly and are resistant to temperature fluctuations. During transportation, maintain consistent conditions, such as refrigeration or cooling, to prevent deterioration.
| Storage Conditions | Transportation Tips |
|---|---|
| Maintain required temperatures | Use insulated containers |
| Avoid direct sunlight | Minimize transit time |
| Label samples clearly | Track samples during transit |
Common Mistakes to Avoid in Sample Collection
One common mistake in sample collection is failing to follow proper labeling procedures, which can lead to mix-ups and compromised results. Incorrect labels may cause samples to be misidentified, wasting time and risking inaccurate diagnoses. To avoid this, keep these points in mind:
- Always label samples immediately after collection with clear, legible information.
- Double-check labels against patient details to guarantee accuracy.
- Use waterproof, tamper-proof labels that won’t smudge or fall off during handling.
Neglecting these steps can cause significant errors, delaying diagnosis and treatment. Proper labeling is vital for maintaining sample integrity and ensuring reliable results. Pay attention to detail and develop a consistent labeling routine to prevent costly mistakes.
Implementing Quality Control Measures
Implementing quality control measures is essential to guarantee the accuracy and reliability of your sample collection process. Start by establishing standard protocols and ensuring everyone follows them consistently. Regularly calibrate and maintain your equipment to prevent errors caused by malfunctioning tools. Incorporate control samples and blanks into your procedures to detect contamination or deviations early. Document every step meticulously, creating a traceable record that helps identify issues quickly. Train your team thoroughly on proper techniques and emphasize the importance of adherence to protocols. Conduct periodic audits to verify compliance and identify areas for improvement. By integrating these quality control measures, you minimize risks of inaccurate readings and guarantee your data remains trustworthy. This proactive approach boosts confidence in your results and supports sound decision-making.
Frequently Asked Questions
How Do I Assess the Integrity of My Sample Collection Process?
You assess your sample collection process by reviewing collection protocols regularly, guaranteeing proper training, and verifying equipment calibration. Make sure you follow standardized procedures consistently and document each step meticulously. Conduct periodic audits and compare your results with expected benchmarks. Gathering feedback from collection personnel helps identify weaknesses. By maintaining strict oversight and continuous improvement, you’ll ensure sample integrity and minimize errors before they affect your readings.
What Are the Most Common Signs of Sample Contamination?
Contamination shows up as unexpected results, like finding a spoiled apple in a basket of fresh ones. You might notice inconsistent readings, strange colors, or unexpected bacteria. For example, if your sample suddenly shows bacteria that shouldn’t be there, it’s a red flag. Always check for signs like cloudiness, off-odors, or particulate matter. These clues tell you something’s off and that your sample might be compromised.
How Can I Train Staff to Improve Sample Collection Accuracy?
You can train your staff by providing hands-on demonstrations, emphasizing proper techniques, and stressing the importance of cleanliness. Encourage them to follow standardized protocols and double-check procedures before collection. Regular refresher courses help reinforce best practices, and fostering an environment where questions are welcomed guarantees ongoing improvement. Monitoring their work and offering constructive feedback also helps maintain high accuracy levels in sample collection, reducing errors before they occur.
What Legal Considerations Exist for Sample Handling and Storage?
You must comply with legal regulations like HIPAA for patient confidentiality, OSHA standards for workplace safety, and local laws governing sample storage durations. Guarantee proper documentation and secure storage to prevent tampering or breaches. Regularly review your procedures to stay updated on any legal changes. Training staff on these legal requirements helps reduce liability and ensures ethical, compliant handling and storage of samples.
How Do Environmental Factors Influence Sample Quality Over Time?
Environmental factors like temperature, humidity, and light can considerably impact your sample quality over time. You need to control these conditions carefully; high temperatures may cause degradation, while humidity can promote microbial growth or chemical changes. Exposure to light can alter sensitive compounds. By maintaining ideal storage environments—such as cool, dry, and dark conditions—you prevent deterioration and ensure your samples remain accurate and reliable for analysis.
Conclusion
Think of sample collection as tending a delicate garden—you need to nurture it carefully from the first seed to the final bloom. By handling each step with precision, you prevent weeds of error from taking root. When you stay vigilant, label meticulously, and store properly, your data blossoms into a reliable harvest. Avoid shortcuts, and you’ll ensure your results shine brightly like a well-tended garden in full bloom.